Learning to code and thinking computationally is becoming more and more popular. Ive seen it filter down into the elementary schools. Thats why I didnt hesitate when I had the opportunity to volunteer at Kenwood Elementary school. Kenwood is transitioning to becoming a computational lab school, where programming is as common as writing. I helped out at their afterschool program Tech Time, which is supported by the school and the University of Illinois and had a demo at their tech fair.
Weve all seen the wonders Mathematica and the Wolfram Language have at the industry, university and high school levels. But what about at the elementary level?
The school had access to four Raspberry Pis and with the help of the University, was able to get all the necessary hardware accessories. For the after-school program, I created a series of lesson plans (lasting about 30 minutes each) to introduce the Wolfram Language and get them familiar with the Raspberry Pi. The overall goal of the lessons was to use the RPi with a button and LED light to blink Morse Code.
Overview of the lessons
- Lesson 1: Introducing the Raspberry Pi
- Lesson 2: Powering up and Introducing Wolfram Language
- Lesson 3: Working with Variables
- Lesson 4: Connecting to hardware
- Lesson 5: Morse Code with the Raspberry Pi
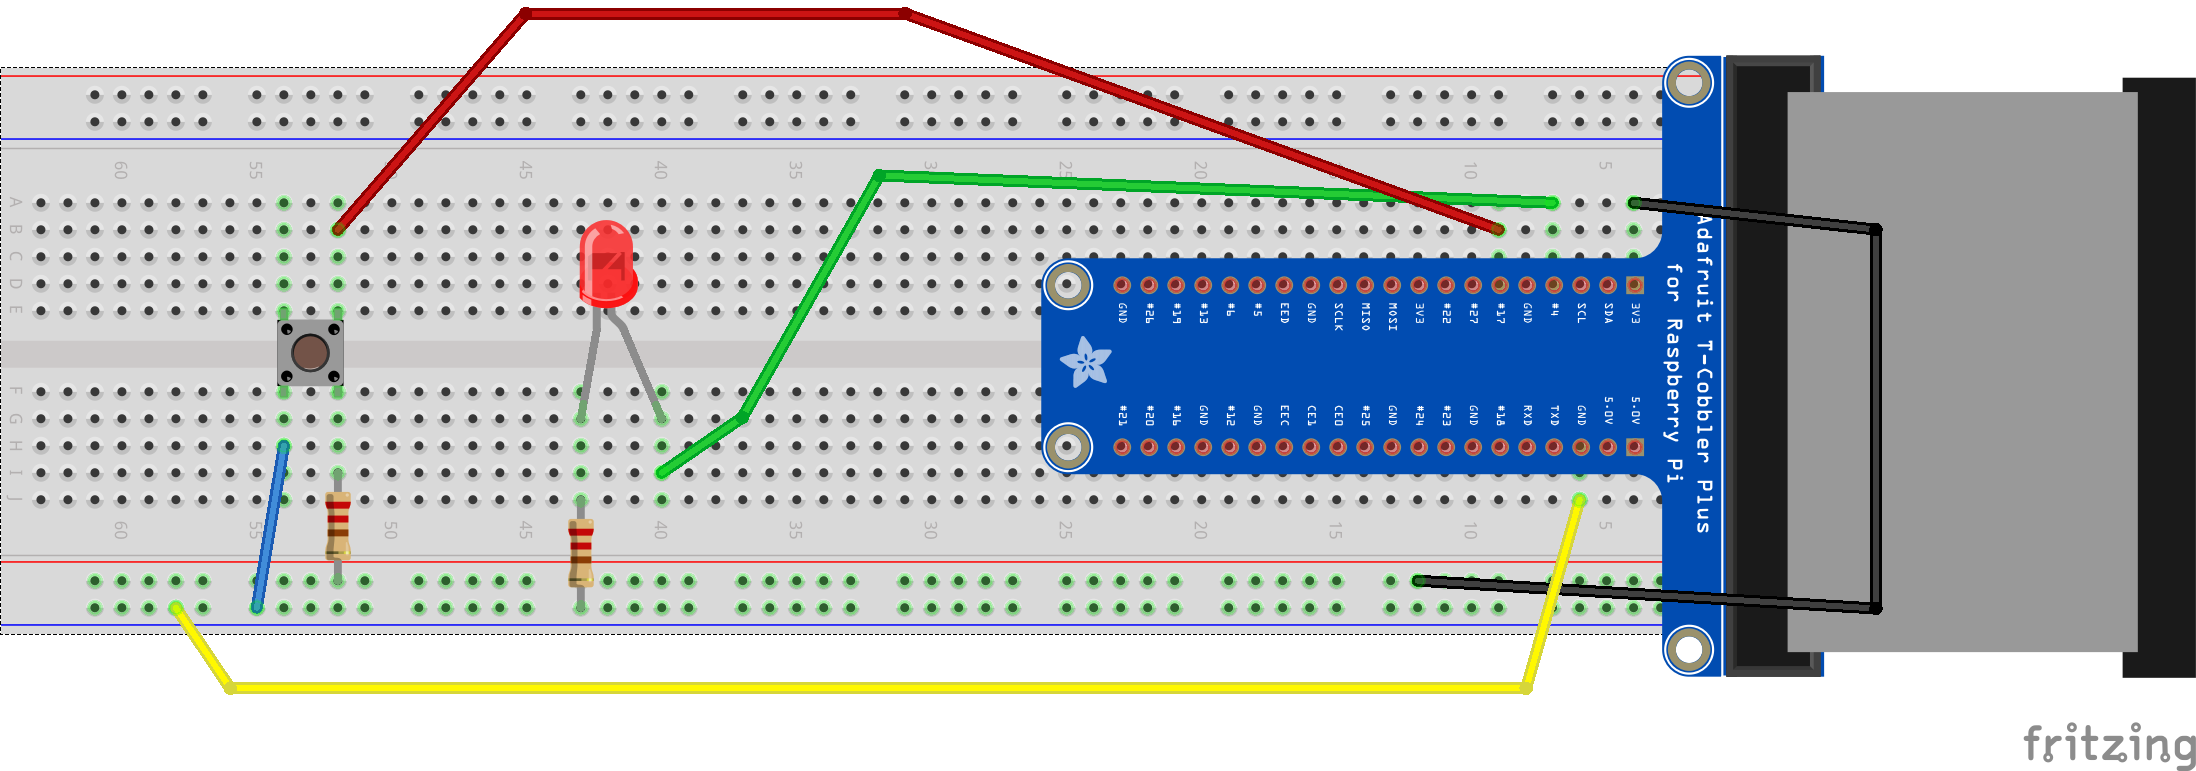
Here is the setup that I used on the Raspberry Pi: 
Since I was working with elementary school students (4th and 5th graders mostly), I felt the notebook interface was more forgiving than the command line. I had them start up Mathematica as root in order for Mathematica to be able to communicate with the hardware.
In the command line, start Mathematica as root:
sudo mathematica
You can see in the attached notebooks what I used for the various lessons, but to blink the LED light on and off, I used the following:
n= True;
While[n,
inv=DeviceRead[GPIO,4];
While[inv=={4->1},inv=DeviceRead[GPIO,4]];
DeviceWrite[GPIO,17->1];
While[inv=={4->0},inv=DeviceRead[GPIO,4]];
DeviceWrite[GPIO,17->0];
];
Although there were some minor user errors that we needed to troubleshoot, the afterschool workshops went great. Students didnt seem to have any problems with the language and wanted to know more. It was great to see them coming up with words to turn into Morse Code
words generally focused on the mildly crude :)
For each lesson, I briefly went over what each function did in the notebook. My main focus was to get them playing around with the language. For example in lesson 2, I had the students practice evaluating code by taking their name and jumbling the letters. They loved doing this and kept putting in different words to see what the outcome would be
again words generally focused on the mildly crude.
In addition to the weekly afterschool workshops, Kenwood held a Saturday Tech fair at the school and invited me to participate. The added challenge to this arrangement was that the students I was going to be working with had never used a text-based programming language or seen a Raspberry Pi before.
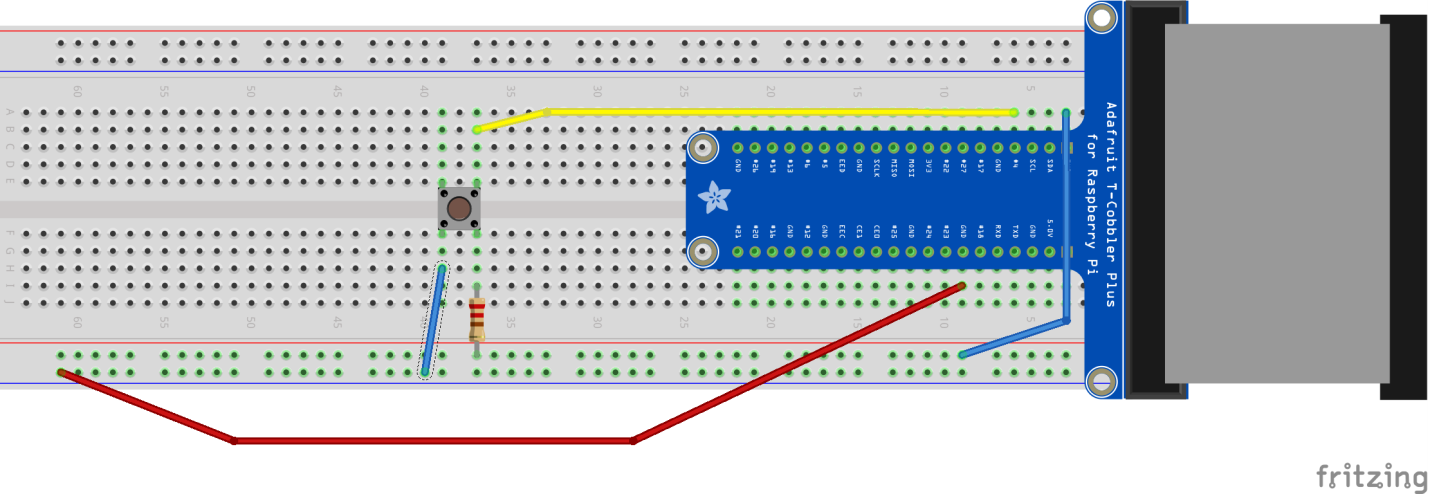
For the event, I set up two demos: Talk in Morse Code and Create a Stop Motion Video. My strategy was to have the kids use printouts of the Fritzing diagrams to put-together the Raspberry Pi accessories and then have them evaluate Wolfram Language code snippets.
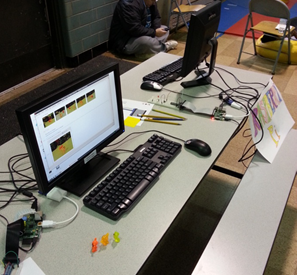
Here was my setup:

I used the same setup for the Morse Code demo as I did in the workshop. Here is the setup for the stop motion demo: 
Not going to lie, I was a little nervous. But low and behold, I was completely busy for the full two hours showing students and parents how to setup the Raspberry Pi and to run the code. The parents were excited to see their children getting their hands dirty with the hardware and the software. They were especially impressed to see that only in a short amount of code you could generate a movie!
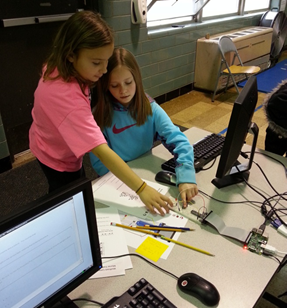
I had a second graders setup the RPi, run the code I had for them, then start asking questions about changing the code! It was fantastic. Here are some students working on the Morse Code setup. A moment before, the one in the pink was giving me the I got this
dont need your help look. :)

Here is the code that I used for the Stop Motion demo. Again first running Mathematica as root in the command line:
sudo mathematica
To get the first image for the movie:
listImages={DeviceRead["RaspiCam"]}
Get the additional images for the movie:
n=1;

While[n<5,
input=DeviceRead["GPIO",4];
While[input=={4->1},input=DeviceRead["GPIO",4]];
image=DeviceRead["RaspiCam"];
listImages=Append[listImages,image];
While[input=={4->0},input=DeviceRead["GPIO",4]];
n++;
]
To see the list of images:
listImages
To turn the images into a movie, use the function ListAnimate:
ListAnimate[listImages]
Here is a link to download all my materials. The workshop materials (5 lessons worth) in addition to the materials I used for the 2 demos at the Tech fair.
Im a teacher first and a programmer second, so any comments that you have to improve or extend the activity would be fantastic!
I had a great time at Kenwood and hope to have another opportunity like this in the future. Also wanted to give a special thanks to the folks at Kenwood Elementary school and the University of Illinois for all their help.