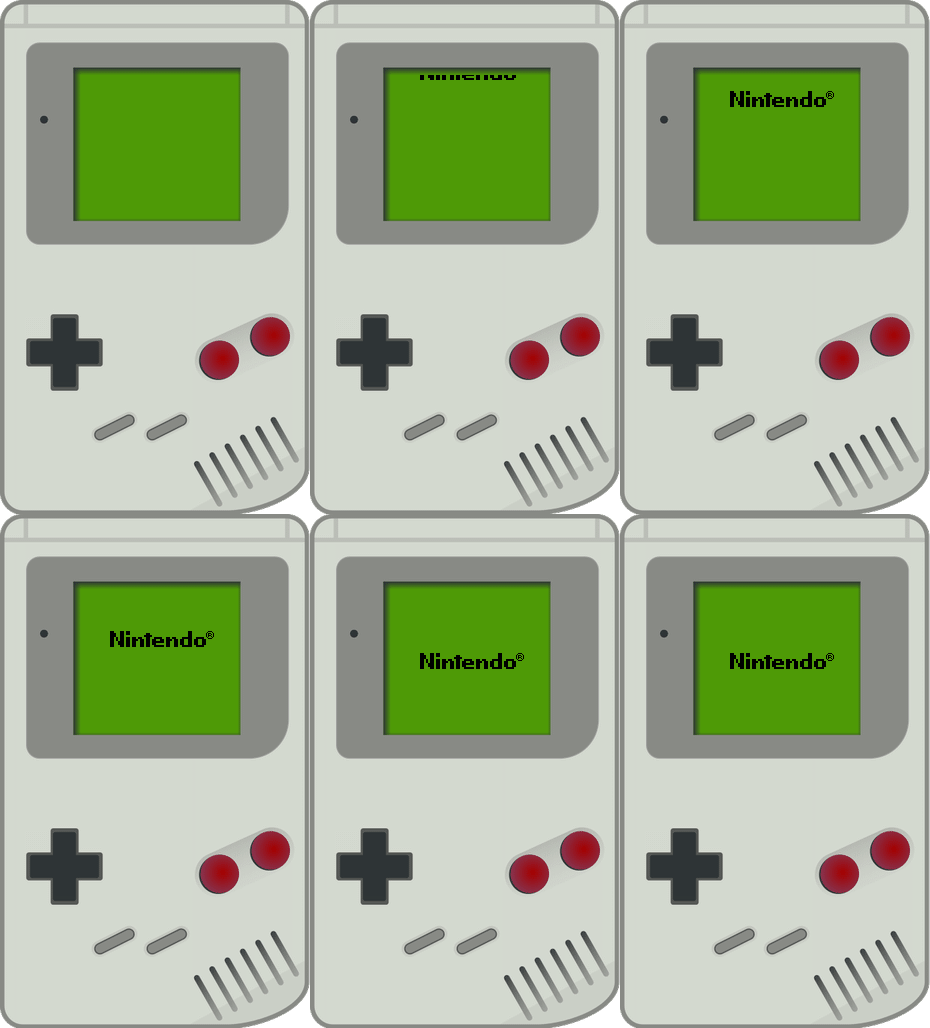
Emulation of a Game Boy using Wolfram Language
by Venkat Rao

Introduction
The goal of this project was to emulate a Nintendo Game Boy using the Wolfram Language and to learn more about the Wolfram Language's capability for Emulation.
Background
What is an Emulator?
An emulator is a program that allows you to use one computer to simulate a different one, in order to run software designed for that machine. I chose the Game Boy for my project because it is a relatively simple device to emulate.
Game Boy Hardware
The Game Boy has several key components:
- The CPU reads machine code from the boot ROM and game cartridge and executes it
- The GPU reads from a special segment of memory called video RAM and renders to the screen
- The MMU decides where each address in memory actually points to, and what to do whenever the CPU reads or writes
- The APU plays simple sounds
- The serial port is used for communication between Game Boys for multiplayer support
I decided to only implement the CPU, GPU, and MMU as that is all that is necessary for the emulation of most games.
Implementation
At first, I merely wanted some indication that the emulator could do something, so I started with a simple loop: The emulator would decode an instruction and execute it, and so on for the following instructions. Because the Game Boy is a rather old computer, the instructions are simple. I implemented my first instruction, which happened to be pretty simple:
(*Example Opcode: 0x31*)
DecodeExecute[49]:=
    With[{pcCur=registers[pc]},
        (*Set the stack pointer to the 16-bit number directly following this instruction*)
       registers[sp] = (ReadByte[pcCur+2]*256)+ReadByte[pcCur+1];
        (*Increment the program counter to the next instruction*)
       registers[pc] += 3;
        (*Store how much time this instruction took*)
       registers[t]=12;
    ];
In a few days, I had implemented over 100 different instructions. Eventually, I ran into an infinite loop that I couldn't seem to fix. I looked at the code that was being repeatedly executed, and it turned out that the assembly code that was being repeatedly executed was:
LD A, ($0xFF00+$44) (* Get GPU's progress rendering the current frame *)
CP $0x90 (* If the frame isn't fully rendered *)
JRNZ .+0xfa (* Jump back to the first of these three instructions *)
Source: A look at the Game Boy bootstrap
At this point, I knew that I had to implement the graphics card sooner rather than later for my Game Boy to finish booting. So, I started out by merely implementing the GPU's timing circuits, so that the GPU would keep track of which part of the frame it was supposed to render (but not actually rendering it). After adding this timing circuit to the main loop, I tested the CPU and found that it was still looping for a very long time (several minutes), and that it was making frequent calls to the graphics card during this loop, so I decided to implement the actual rendering of the GPU. I decided to translate code from an open source emulator to the Wolfram Language, but this actually displayed incorrectly so I decided to write the renderer from scratch. After this, I finally had my first output:

However, now that I had implemented the GPU I could clearly see how slow my emulator was compared to the real thing. Where the real thing took 5 seconds to boot, my emulator took 4 minutes and 30 seconds, 54 times slower. After some optimization, I managed to reduce the boot time to 3 minutes and 37 seconds. At this point, my emulator was still too slow to be interesting or useful. I looked at what parts of the Game Boy were taking the most time:

I decided to remove everything not part of the core functionality of my emulator in order to speed things up:
- First, I converted my DecodeExecute function responsible for emulating the CPU to a hash table rather than a switch statement.
- Then, I removed any memory protection, which makes sure a read or write is allowed before executing it. However, commercial software for the Game Boy wouldn't rely on illegal memory access anyway.
- Normally, the CPU will run a special function called an interrupt whenever certain events, such as the GPU finishing rendering the next frame, occur. The boot ROM doesn't use these, so I disabled them.
- Because the only parts that rely on timing are the CPU and GPU, I connected their clocks directly rather than having the GPU increment its own clock every cycle.
- The Game Boy's GPU simulates a CRT monitor, and renders one line at a time. Rendering the whole screen at a time is less accurate, but works most of the time and is much faster.
After removing each unnecessary feature, recorded how much time it saved in order to create the chart above. After removing all of the features except for the core (CPU, simple GPU and MMU), The emulator booted in just 30 seconds. At this point, it would be extremely difficult to shorten the boot time further.
Future Improvements
In the future, I would want to compile more of the code to C to increase speed further when the functionality of the Compile[] function is expanded. In addition, I would restore the features that I had gotten rid of and implement more of the CPU, GPU, and APU (audio processing unit) in order to make games more playable, and represent the Game Boy's memory as a ByteArray for another speed boost. My code is attached for any other people to test or make improvements to.
 Attachments: