Open in Cloud | Attachments for Desktop at the End
WARNING: Customizing boot logo of the laptop might require flash the BIOS firmware, which has a small chance to fail and permanently "brick" the laptop!

Just as many people, I do a lot of work on my laptop. And naturally, just like many people, I want to customize it to feel like "mine". One thing I always wanted was to change the boot logo, since that's the first thing you see when you wake up your electric friend. Image my excitement when I found out that there's an official BIOS Update Utility just for that for my ThinkPad T440s! The only catch, according to the vaguely written documentation in the utility, and a bunch of internet articles I found, it seems that the logo designs are subject to certain constraints:
- the most suitable format is GIF
- image dimensions must be less than 768 x 432
- image must be below 30KiB.
Having got that out of the way, it's time to make my awesome logo!
As a start, I generated a vector drawing using the Constantia font and the lovely \[LightBulb] icon.
vectorgraph = ExportString[
            Style["i\[LightBulb]ea", 100, Bold, FontFamily -> "Constantia"] // Echo
            , "PDF"] //
        ImportString[#, "PDF"][[1]] &

I wanted my logo to look low-poly styled. Firstly, I made the edges jagged by chossing a large value for MaxCellMeasure.
bregionInit = vectorgraph // BoundaryDiscretizeGraphics[ #, MaxCellMeasure -> 10 ] &

Next, I trianglized the region with TriangulateMesh. For the same reason, a large MaxCellMeasure really helps to give the low-poly effect. In addition, a high MeshQualityGoal is necessary to create somewhat regular triangle pieces.
At this point, the 30KiB limitation I talked about earlier comes into play. Many triangles means more details means larger file size, even for GIF. Through some good old eye-balling, I settled on a value of 0.7, which manages to look great while still staying under the limit.
mesh = TriangulateMesh[ bregionInit
                        , MeshQualityGoal -> .7
                        , MaxCellMeasure -> 200 ]

The shape looks good to me. For afterward manipulation, let's collect all the triangles with their positions.
polys = MeshPrimitives[mesh, 2];
centers = PropertyValue[{mesh, 2}, MeshCellCentroid];
polys // Short
centers // Short

(*
 {Polygon[{{2.115,19.2363},{4.8094,19.2363},{1.94625,20.9013}}],<<367>>,Polygon[<<1>>]}
 {{2.95688,19.7913},<<367>>,{58.7516,38.3716}}
*)
Pretty good, but better with some colors!
One possible way to paint my triangles is to shade them according to their heights.
To do that I extracted the heights and rescaled them to get a percentage $\lambda$ so those near the central horizontal line have values near 0, and those furthest have values near 1. It will serve as a "gradient mask" for later use.
?s = centers[[;; , 2]] // RightComposition[
            Through@*{Identity, Mean}
            , Apply[Subtract]
            , Abs /* Rescale
        ];
Time to choose a color scheme. I find "StarryNightColors" very delightful.
polysNew = MapThread[Function[{p, c, ?},
                {
                    FaceForm[ColorData["StarryNightColors"][2 ?]]
                    , p}
                ]
            , {polys, centers, ?s}
            , 1];
polysNew // Shallow /* Short

(*
 {{FaceForm[<<1>>],Polygon[<<1>>]},{FaceForm[<<1>>],Polygon[<<1>>]},<<7>>,{FaceForm[<<1>>],Polygon[<<1>>]},<<359>>}
*)

logo = Graphics[{polysNew}, Background -> Black, PlotRangePadding -> 0]

Looks much better now, isn't it?
However, I am still not satisfied. Bearing in mind the file size restriction, maybe I can experiment with some geometric transformations?
logo = Block[{
            polysNew,
            ?TransFunc = Function[x, (1 - Cos[?/2 x]^3)/2]
            },
        polysNew = MapThread[Function[{p, c, ?},
                    {
                        FaceForm[ColorData["StarryNightColors"][2 ?]]
                        , MapAt[(1 - ?) # + ? c &, {1, ;;}]@p}
                    ]
                , {polys, centers, ?s // ?TransFunc}
                , 1];
        Graphics[{polysNew}, Background -> Black, PlotRangePadding -> 0]
        ]

Not bad, except that the central pieces are now waaay too dark. Let's add some bright edges for them.
logo = Block[{
            polysNew,
            ?TransFunc = Function[x, (1 - Cos[?/2 x]^3)/2]
            },
        polysNew = MapThread[Function[{p, c, ?},
                    {
                        If[? > .3, {},
                            EdgeForm@{GrayLevel[1 - ?^.5], AbsoluteThickness[0]}
                        ]
                        , FaceForm[ColorData["StarryNightColors"][2 ?]]
                        , MapAt[(1 - ?) # + ? c &, {1, ;;}]@p}
                    ]
                , {polys, centers, ?s // ?TransFunc}
                , 1];
        Graphics[{polysNew}, Background -> Black, PlotRangePadding -> 0]
        ]

The warming yellow has been restricted to the light bulb, leaving me pure deep blue glossy letters. I think I'm good to go :D
To fit the constraint of the utility tool, the final work is to rasterize the image and export it to GIF.
logoImg = logo //
        RightComposition[
            Image[#, ImageSize -> 1000] &
            , ImagePad[#, 50, Black] &
            , ImageResize[#, 768 + 45] &
            , ImageCrop
        ];

logoFile = Export[
             FileNameJoin[{NotebookDirectory[], "logoImg.gif"}]
             , logoImg
             , "GIF"
           ];
Unfortunately, despite my very carefully tuning, the resulting GIF still exceeded the file size limitation of 30KiB.
FileSize[logoFile] // UnitConvert[#, "Kibibytes"] &
48.8789KiB
I searched around and came to a commandline tool called Gifsicle. The following command (run in OS' console) finally did the trick. Hurray!
gifsicle -k 50 -O3 --no-extensions --no-comments < logoImg.gif > LOGO2.gif
Now check the perfect file size,
FileSize[FileNameJoin[{NotebookDirectory[], "LOGO2.gif"}]] //
    UnitConvert[#, "Kibibytes"] &
29.7598KiB
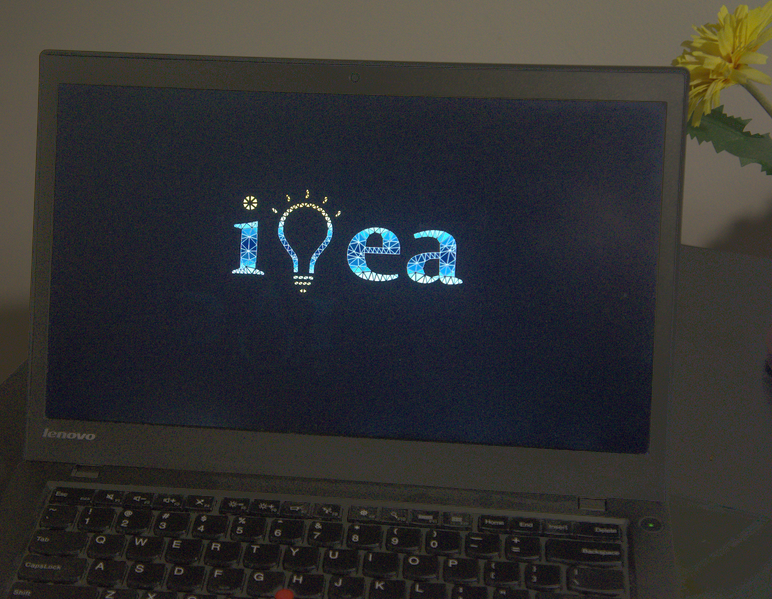
The rest is refreshingly straight forward. I dropped my LOGO2.GIF in the utility's own directory and executed the firmware update utility. It automatically picked up the logo image and proceeded to modify my firmware. One reboot later, I was rewarded by my very own boot logo!
Easter eggs:
Can you guess what happened when I remembered my another old ThinkPad the next day?
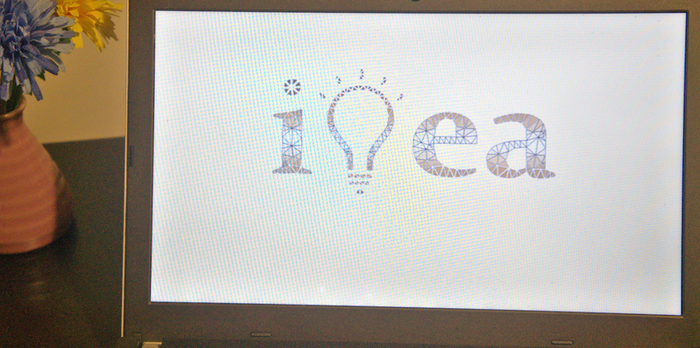
(The color scheme used here was "CoffeeTones".)
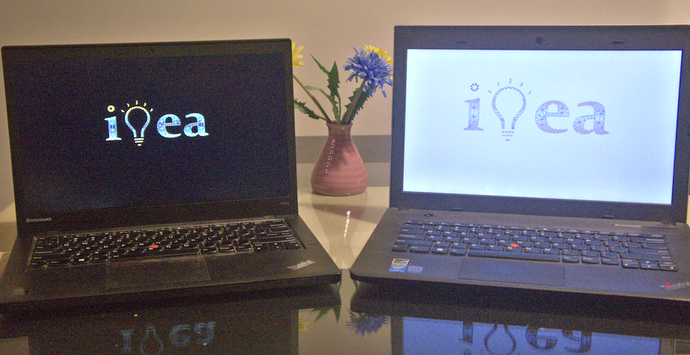
At last, the family photo of my electric friends :)
Thanks for watching and ... ...
Stay tuned! Next post we will share our experiment on making cool booting animation with Mathematica for Android phones! :)
 Attachments:


