I stumbled upon insideinsides.blogspot.com today, which is a really cool blog that shows fruits and vegetables going through an MRI machine.
The objective of this post is to take slices of these foods and reconstruct them, color them, and look at different cross sectional views that a GIF can't offer.
Looking inside a pumpkin
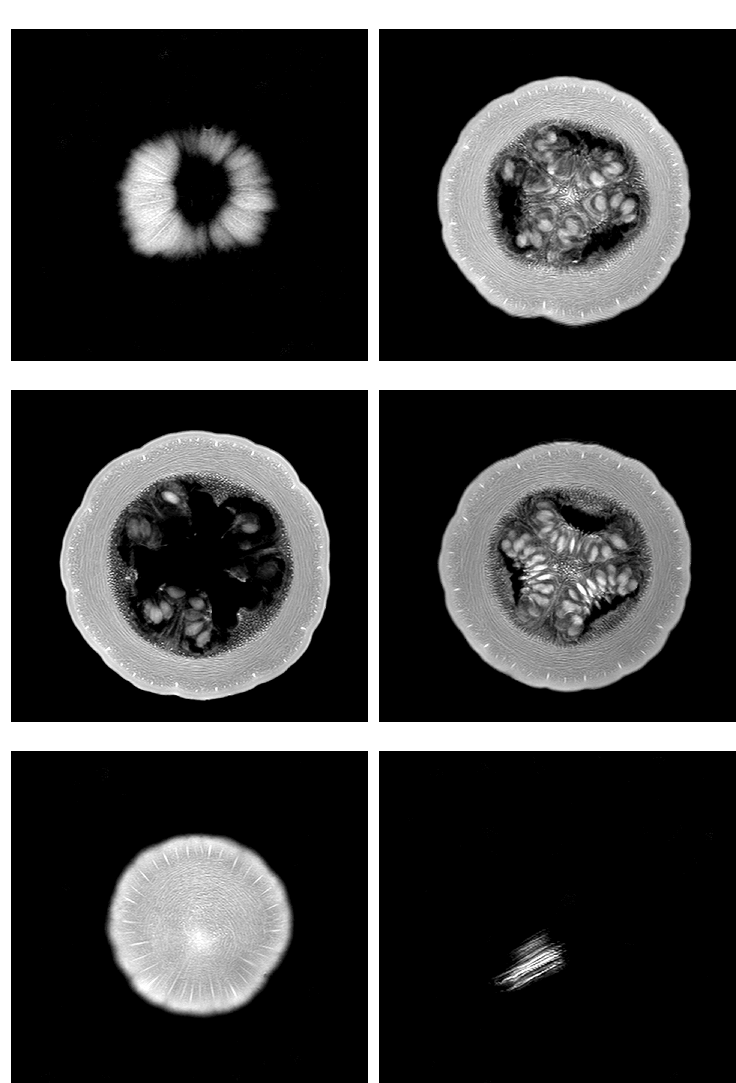
After we import this gif, there's a bit of preprocessing we need to do before getting our 3D image.
pumkinslices = Import["http://imgur.com/TvwD0.gif"];
pumkinprocessed = RemoveAlphaChannel[ColorConvert[ImageTake[#, {40, -10}, {20, -20}], "Grayscale"]] & /@ pumkinslices;
Here we removed the borders for each slice, converted the images grayscale, and lastly removed the alpha channel which will make the background transparent in the 3D image. Now we're ready to see the 3D image:
Image3D[pumkinprocessed, BoxRatios -> {1, 1, .75}]
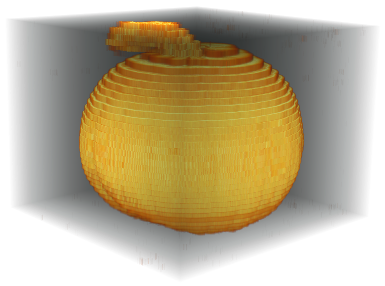
Notice we need to manually choose the BoxRatios. What if we want to see inside the pumpkin? We can use a built in ColorFunction:
Image3D[pumkinprocessed, BoxRatios -> {1, 1, .75}, ColorFunction -> "LowRange"]
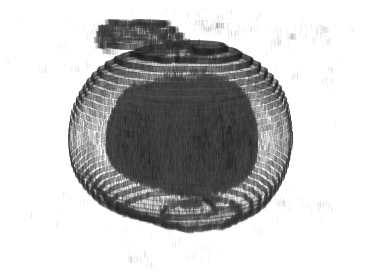
Neat! But what if we wanted more control of what we can see? To edit with more control, we can right click on our image to bring up an interactive editor.
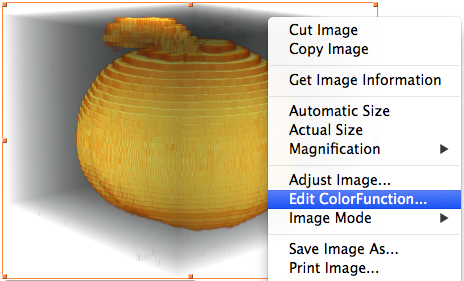
Adjust levels to see past this inner shell: 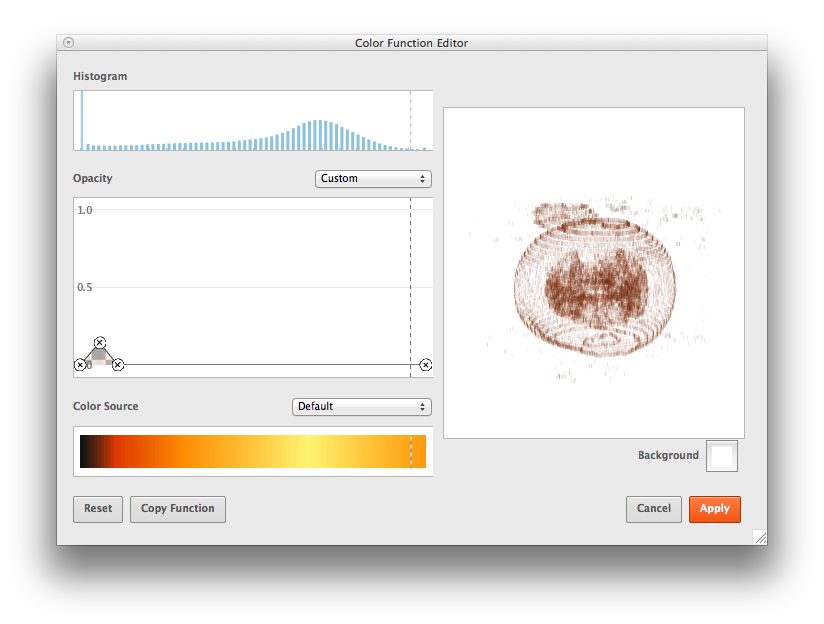
Coloring celery
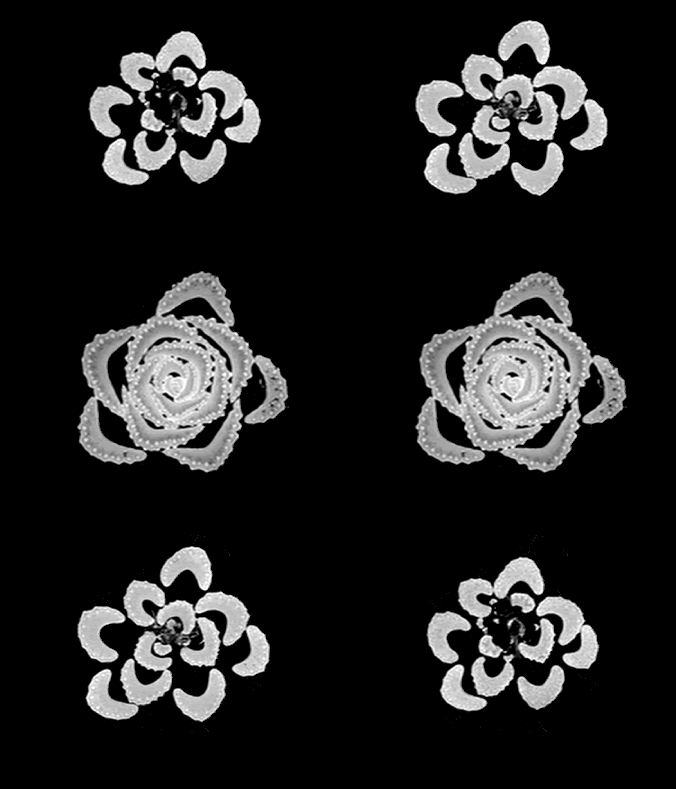
We import the slices just like before:
celeryslices = Import["http://i25.tinypic.com/11t7b7s.jpg"][[1 ;; 82]];
celeryprocessed = RemoveAlphaChannel[ColorConvert[#, "Grayscale"]] & /@ celeryslices;
Image3D[celeryprocessed, BoxRatios -> {1, 1, 1}]
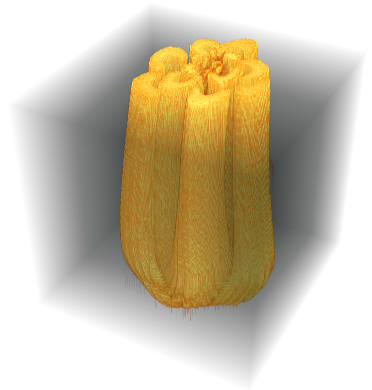
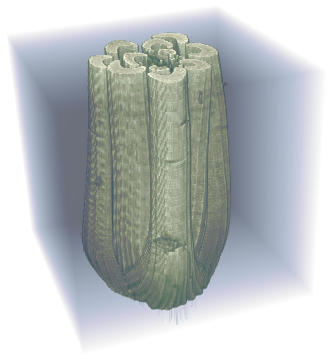
We open up the ColorFunction editor again and this time choose a color scheme. AlpineColors seems to work best.
Cross sections of a colored watermelon
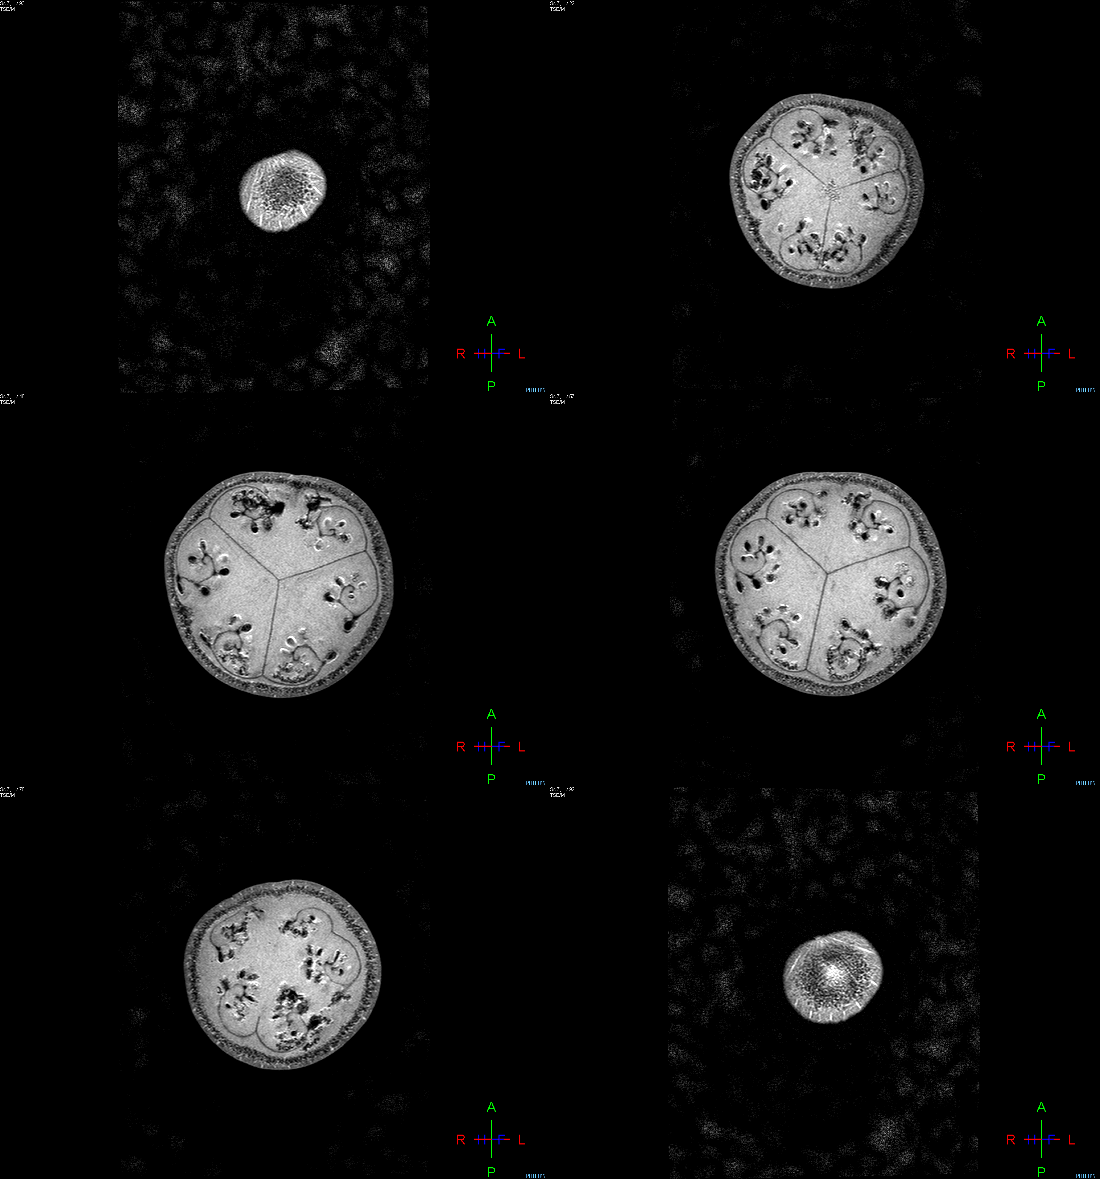
Again, import the slices and create the 3D image:
melonslices = Import["http://www.pencapchew.org/watermelon.gif"];
melonprocessed = RemoveAlphaChannel[DeleteSmallComponents@ColorConvert[ImageTake[#, {1,-1}, {100,-100}], "Grayscale"]]& /@ melonslices;
Image3D[melonprocessed, BoxRatios -> {1, 1, 1}]
First let's color the watermelon in the ColorFunction editor. We're lucky because there is a default color scheme called "WatermelonColors". We will however have to adjust the levels. 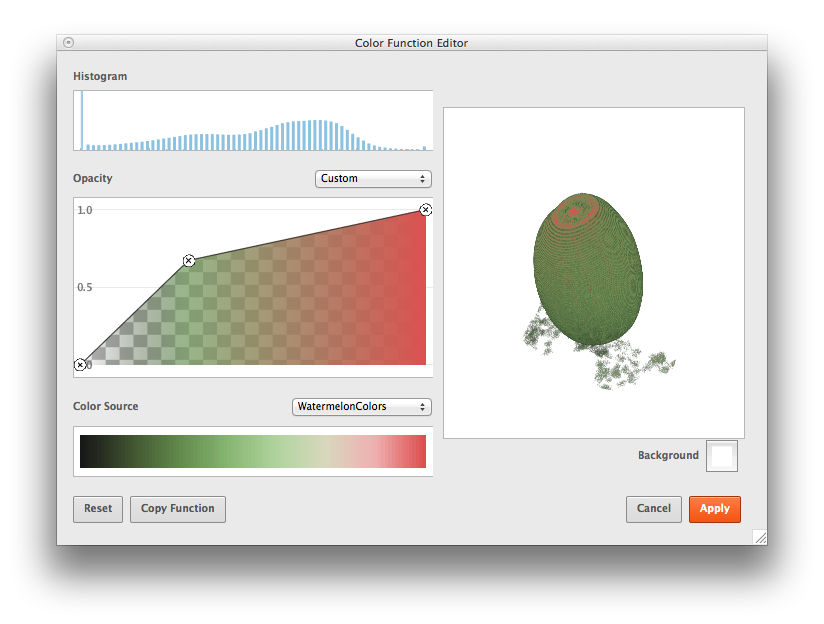
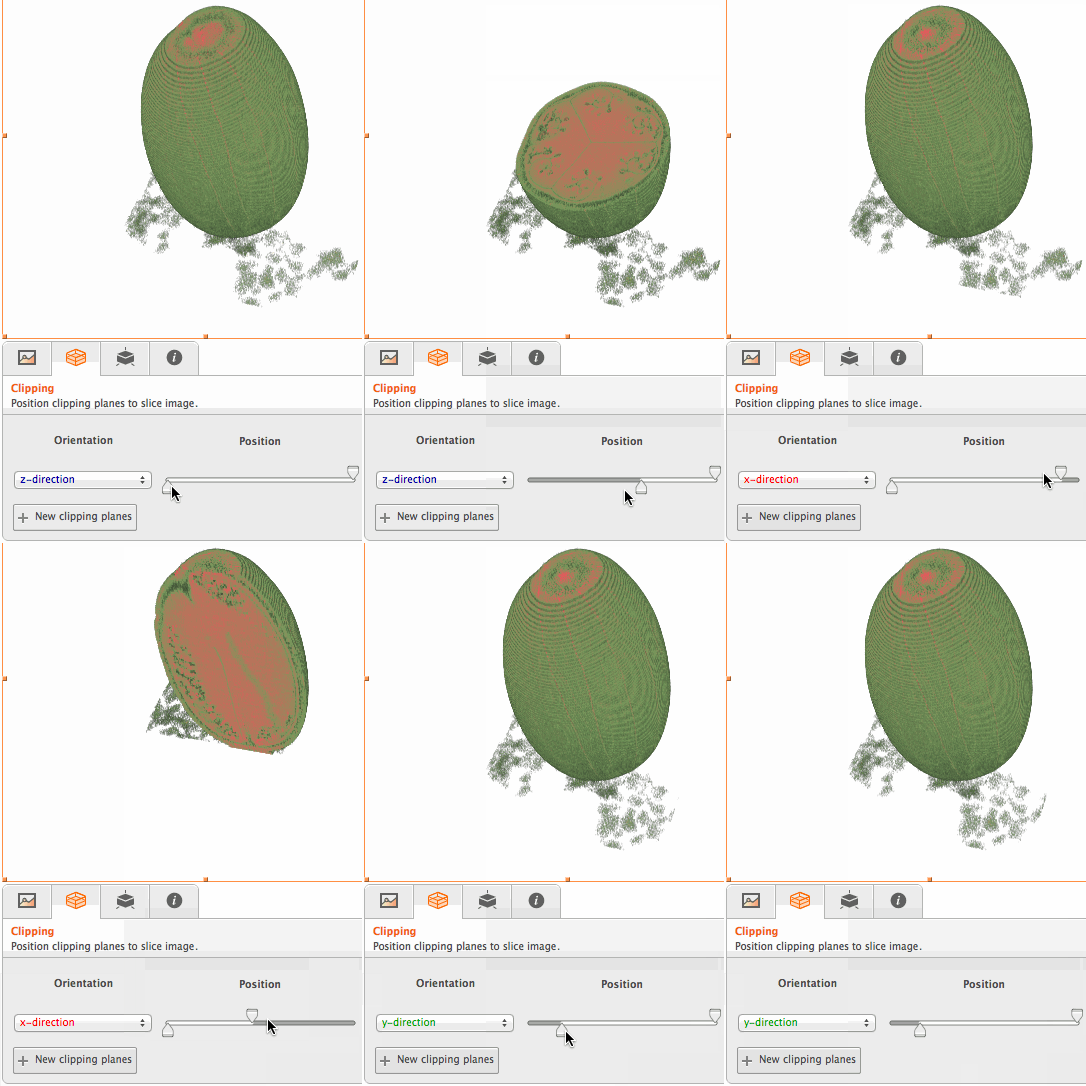
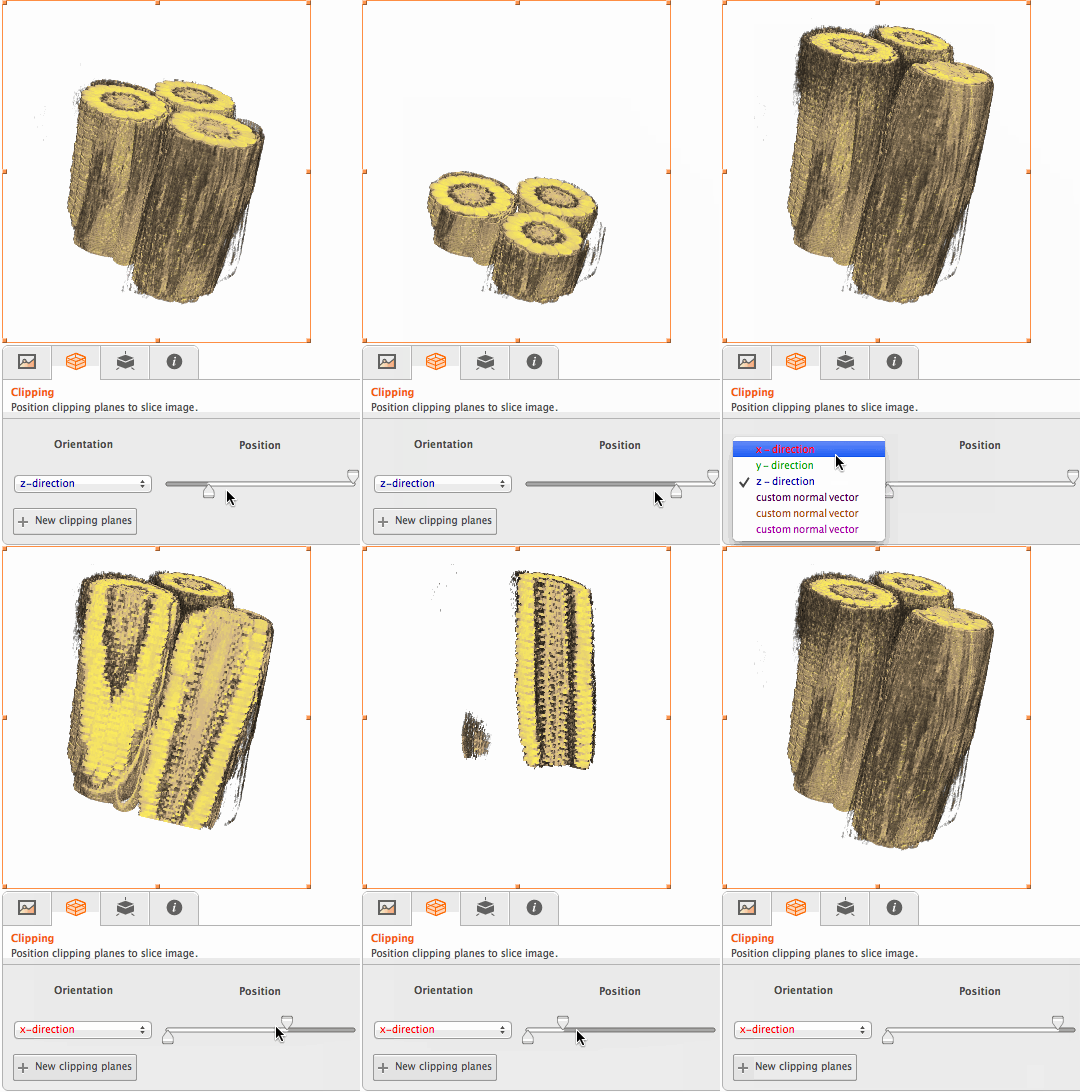
We're now ready to look at cross sections. The advantage we have is we can choose any direction to make cuts now, whereas the GIF is restricted to the z-axis! The easiest way to take cross sections is by clicking the image which will bring up a menu. Click the "Clipping" tab and you're set.
Coloring corn with a custom ColorFunction
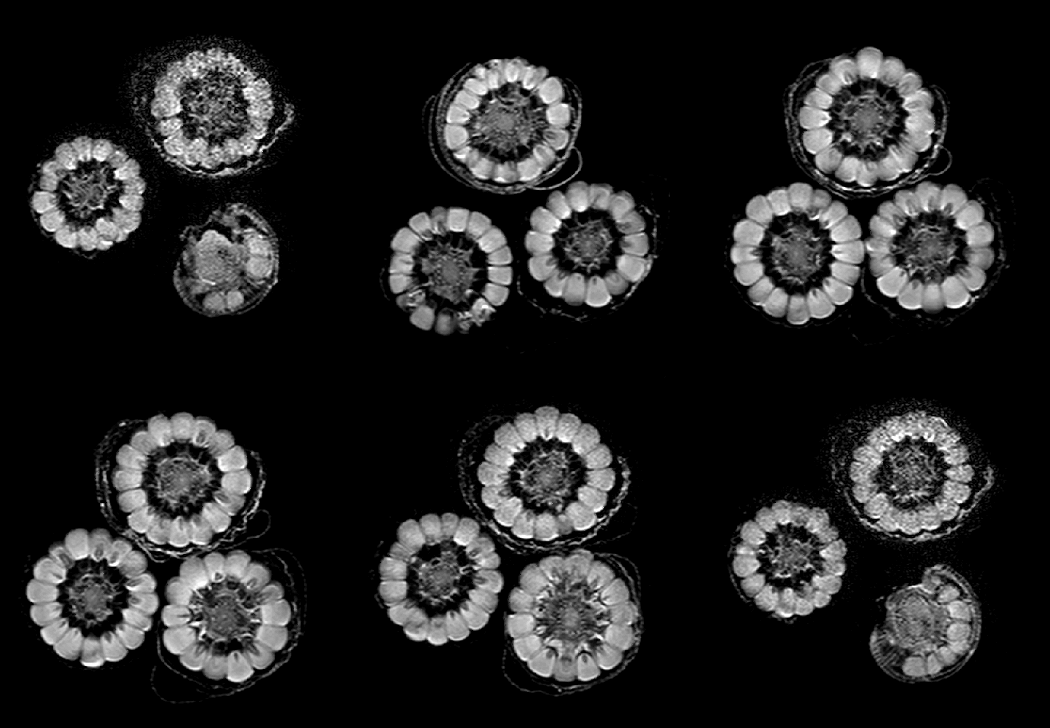
Here's the corn in 3D:
cornslices = Import["http://pencapchew.org/ae/corn.gif"][[9 ;;]];
cornprocessed = RemoveAlphaChannel[ColorConvert[#, "Grayscale"]]& /@ cornslices;
Image3D[cornprocessed, BoxRatios -> {1, 1, 1}]
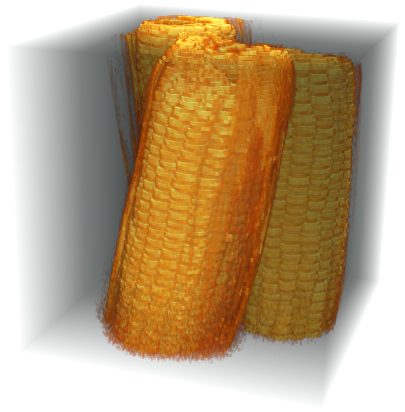
If we look back to the ColorFunction editor for the watermelon, notice there is a way to copy the ColorFunction generated. This will give us the tools to make our own ColorFunction without the need of the editor.

The function ends up looking like this:
(Blend[{{0., RGBColor[0.1, 0.1, 0.1, 0.]},
     {0.313368, RGBColor[0.458381, 0.616899, 0.367651, 0.67293]},
     {1., RGBColor[0.882911, 0.359638, 0.360092, 1.]},
     {1., RGBColor[0.882911, 0.359638, 0.360092, 1.]}}, #1] & )
This function essentially blends colors (with an alpha channel) with certain blending weights. Let's use this strategy to color the corn husks tan and the corn, well corn colored. To find these colors we can use Interpreter:
corn = Append[Interpreter["Color"]["corn"], 1.];
tan = Append[Interpreter["Color"]["tan"], 1.];
Playing around we can find the appropriate blending factors and we have our custom ColorFunction:
Image3D[cornprocessed, BoxRatios -> {1, 1, 1},
     ColorFunction -> (Blend[{{0, RGBColor[0, 0, 0, 0]}, {.75, corn}, {.25, tan}}, #]&)]
Make sure to check out insideinsides.blogspot.com to see many mesmerizing GIFs. Post any neat 3D images you make from these GIFs below!