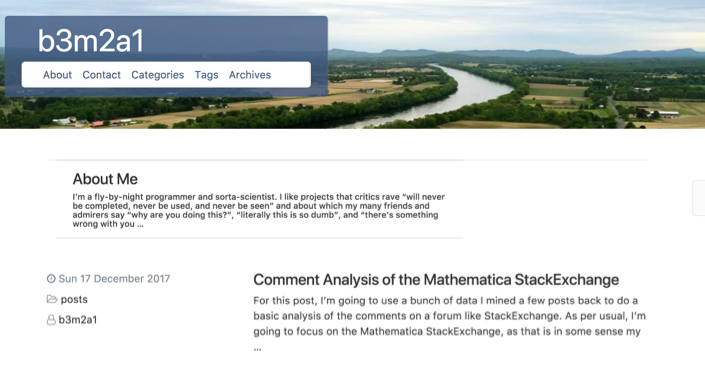
So this is a derivative of a few blog posts I wrote a few weeks ago, which you can find here and here, but I'm hoping it will show why I feel the ability to make subdomains in the wolfram cloud would be such a killer feature.
I am not a web programmer by trade. I am not even a programmer by trade. But when I wanted a website for my blog posts and my packages the Wolfram Cloud was the obvious choice.
Making Websites with Pelican and Mathematica
My first brush at this was a system (which I still use) for making static web pages from notebooks that used pelican a python-based website builder.
That system basically has three parts:
- Notebook to markdown converter
- python link to drive pelican
- web site cloud deployer
We'll walk through parts 1 and 3, since they'll come up again
Notebook to Markdown Converter
This is a fun little utility I use all the time. The basic idea was to take a NotebookObject and export it to an appropriate Markdown layout. There are tons of these laying around out there (mostly on StackExchange), but it's really a very simple process.
The export process has ~3 steps:
Path information extraction
To include things like images it is first necessary to extract an appropriate path for exporting and relative paths. This basically just means taking the NotebookDirectory and looking for a standard directory structure in its local area on the disk.
In my case I look for a parent directory named "content" and, if I find it, dump images in a subfolder of it called "img"
This info will propagate through the entire export process.
Recursive Cell/Box converter
Next I defined a largely comprehensive set of export formats for the different Cell and Box structures one finds in notebooks. This doesn't support everything, but it supports all of the standard Markdown types and a collection of non-standard things.
For instance, it supports Grid directly at the HTML level (as Markdown is a superset of HTML)
The recursive exporter also handles Sow-ing the images that would need to be exported (and providing a link to the export path). Anything that needs to be exported as an image or rasterized gets exported by Hash so that it is not exported unless strictly necessary. Manipulate-type objects get dumped as GIFs.
Export to File
The recursive converter builds an export string, but it doesn't handle any of the actual exports. This is done by a function that calls the recursive converter with Reap wrapped around so that it can catch anything which was sowed and needs to be exported to file.
In essence, then, the call structure looks like this:
mdExport[nb_]:=
 Module[{
  path = mdExtractPath@nb,
  cont
 },
  cont = Reap[mdRecursiveConvert[, NotebookGet@nb]];
  mdExportToFile[path, #]& /@ cont[[2]];
  cont[[1]]
  ]
Although it is obviously more complicated.
Website Deployer
This little utility is even simpler than the markdown exporter. All we do here is a take a directory and dump it into the cloud.
The basic idea is to do this in 2 steps:
Determine URI and exportable content
In general I just take the parent directory name of the "content" directory to be the URI. If there is no "content" directory or "output" directory, then I just take whatever directory the deployer function was called on.
The deployer also takes a FileNames pattern as an option to determine what should be deployed. By default this is all the basic web content (HTML / CSS / JS ).
Deploy what hasn't been deployed
The deployer then takes the URI and the files to deploy and uses a checkpoint file that tells it when the last deployment was to only deploy things whose last modification time was after the last deployment. This may be overridden by options, but I usually let it be.
When it has all of these things it simply drops the directory name to get the final URI path, newPath and then just calls
CopyFile[ file, CloudObject[URLBuild[{ uri, newPath}], ops] ]
where ops usually has Permissions->"Public" in it.
One thing to note is that the cloud has a minor bug in that it doesn't work like a web-host should
Total Process with pelican
The link mentioned as step 2 then calls pelican on the content directory where the Markdown of step 1 exporter dumps, which creates a slew of HTML and CSS and stuff that the deployer in step 3 then deploys.
When all is said and done you get something like this:

Moving to Pure WL
After I had done all of this, though, I decided I wanted a pure WL way to do this. If I can cut out the pelican link, I can control it better. To that effect I wrote my own version of pelican. Per the suggestion of C. E. I decided to do this via the XMLTemplate framework.
So, all I had to do was
- Move my Jinja templates to
XMLTemplate
- Write a markdown to
XMLObject converter
- Write an info extractor from the
XMLObjects
- Write a system to apply this info to the
XMLTemplates
This is all pretty straightforward so I will just hit on some of this highlights of this.
XMLTemplate library
To set up a decent theme with the XMLTemplate system is a little tough, as the inheritance rules in TemplateApply are not fully thought through (and it's too late to change them). Happily, though, it's all WL, so we can extend and get around this it pretty easily. My strategy was to build a library of little functions that would be loaded automatically and could be used when applying an XMLTemplate. My lib lives here and I periodically extend it when I'm adding features to my site. In general, it's nicer than writing raw XMLTemplate specs.
You can how this looks here
Markdown to XMLObject
This is the shakiest part of the whole enterprise. Really, this should be done either via Java and JLink or at the C level using a battle-tested library for this. That is not the route I went.
I wrote a recursive Markdown converter that basically applies StringSplit to split a Markdown chunk into its different features, tagging each feature with a Rule.
The converter then eats these chunks and passes them through a system that converts a rule and string into the appropriate XML, calling the splitter once again if necessary.
This covers all of the cases I have had to use, but I cannot be certain it is 100% functional. It is, however, successful enough to build out the raw XML for this: https://www.wolframcloud.com/objects/b3m2a1.testing/fiddle-test.html
Extractor and Template Applier
This is interesting only in how it is set up. The extractor is very basic. It just pulls out the "meta" type tags and the "body" and tosses them in a stack (stored as an Association for easy access within a template).
Then this Association is post-processed to allow simple access to more sophisticated things, like all of the pages with a given tag in their meta info.
The body is then fed into the XMLTemplate by TemplateApply, but, as mentioned, the XMLTemplate has access to the entire info stack and thus can use that in the generation process.
An Example and a Request
Paclet Server Website
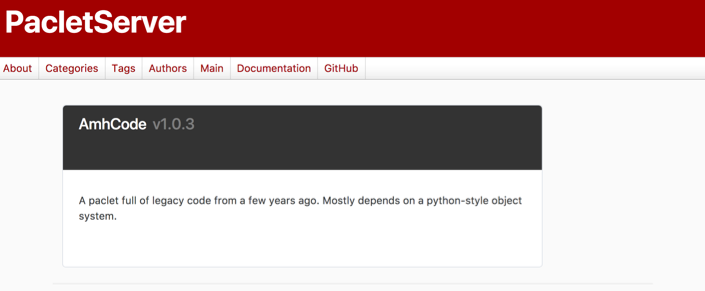
When all of this is said and done you get something like this:

Which is a the aforementioned site I built out to host all of my packages (or, rather, the front-facing layer on the paclet server)
I hope this was instructive or, at minimum, a fun example of the powerful stuff WL and the cloud make possible.
Feature Request
Finally, all of this would be even better if we could provide subdomain-style names to these sites, like GitHub allows us to.
That way I can point people to my site, and they will a) know it's mine and not some scam site and b) see that it's hosted in the Wolfram Cloud, which will (hopefully) encourage them to check the cloud out.
Automated Websites
One final extension that this allows us is the possibility of automatically making a website in the Cloud. I prototyped this here.
The basic idea is, again, tripartite
- Find a collection of objects for which we want web pages
- Create a notebook display for these objects
- Make XML templates for a generic page and for the aggregation pages we want
My example here will be the same paclet server I discussed before.
Collecting paclets
Paclets are, I think, increasing in visibility in the Wolfram Language development world. For those who don't know, a paclet is simply a zipped form of a package with meta-info for installation and usage. The defining characteristic of a paclet is a file, PacletInfo.m which has the following format:
Paclet[
  Name -> "Package",
  Version -> "nn.nn.nn",
  Description -> "A few lines of package description",
  Creator -> "me@me.me"
  ]
I extended this format to look like:
Paclet[
  Name -> "Package",
  Version -> "nn.nn.nn",
  Description -> "A few lines of package description",
  Creator -> "me@me.me",
  Tags -> {"a", "list", "of", "tags"},
  Categories -> {"a", "list", "of", "categories"}
  ]
so that I could use these extra fields in aggregation
Next, paclets can be added to a paclet server for distribution. When this happens each paclet gets added to a file, PacletSite.m which looks like:
PacletSite[
 Paclet[Name -> "Package1",
  Version -> "nn.nn.nn",
  Description -> "A few lines of package description",
  Creator -> "me@me.me",
  Tags -> {"a", "list", "of", "tags"},
  Categories -> {"a", "list", "of", "categories"}
  ],
 Paclet[
  Name -> "Package2",
  Version -> "mm.mm.mm",
  Description -> "Another few lines of package description",
  Creator -> "me2@me2.me2",
  Tags -> {"a", "nother", "list", "of", "tags"},
  Categories -> {"a", "nother", "list", "of", "categories"}
  ],
 ...
 ]
thus I realized I could take each of the Paclet expressions and turn them into shingles on a web page
Creating a notebook display
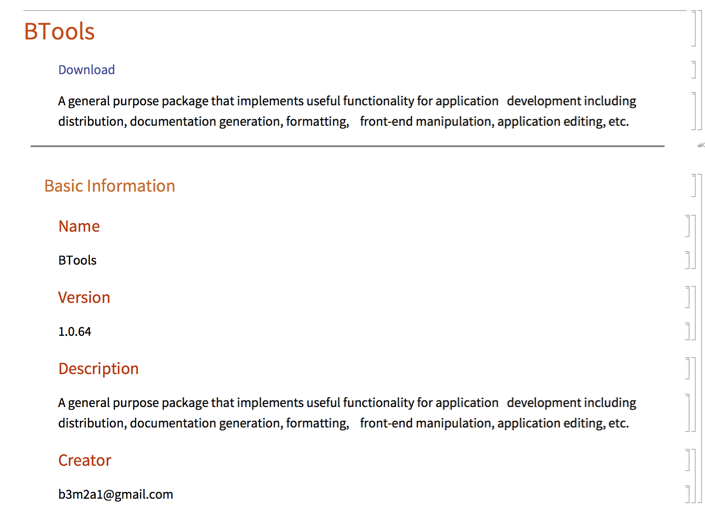
This part was very standard notebook programming. In my Markdown notebook stylesheet I defined a collection of cell types that would get automatically exported to markdown. I used these in building out a shingle. For instance, here's one (fully autogenerated) shingle notebook:

And you can add content to this notebook and it will also get exported to the cloud (and preserved in notebook updates)
On this we can simply call the Markdown exporter I wrote about in part 1 of this post
XML Templates
These were very simple little templates. I just have one that loops through all the pages and makes little bubble links to the shingle pages, which, e.g. look like this:

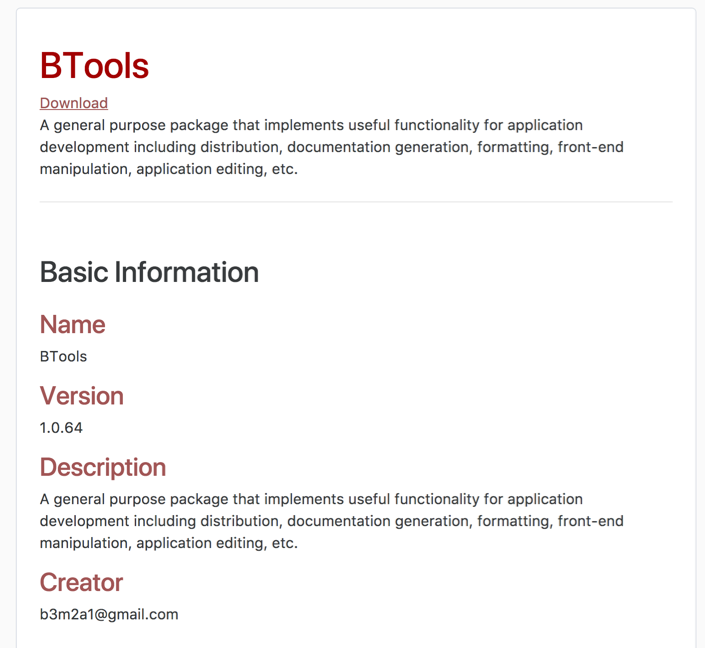
And then another template that defines the shingles themselves, whose output looks like this:

Usage
Finally, when I add or update a paclet, I simply add it to my server and tell the website to regenerate itself. Once everything is in WL it's maybe 2 lines of code (or one button click)
And voilà, your very own automatically generated web page.