Introduction
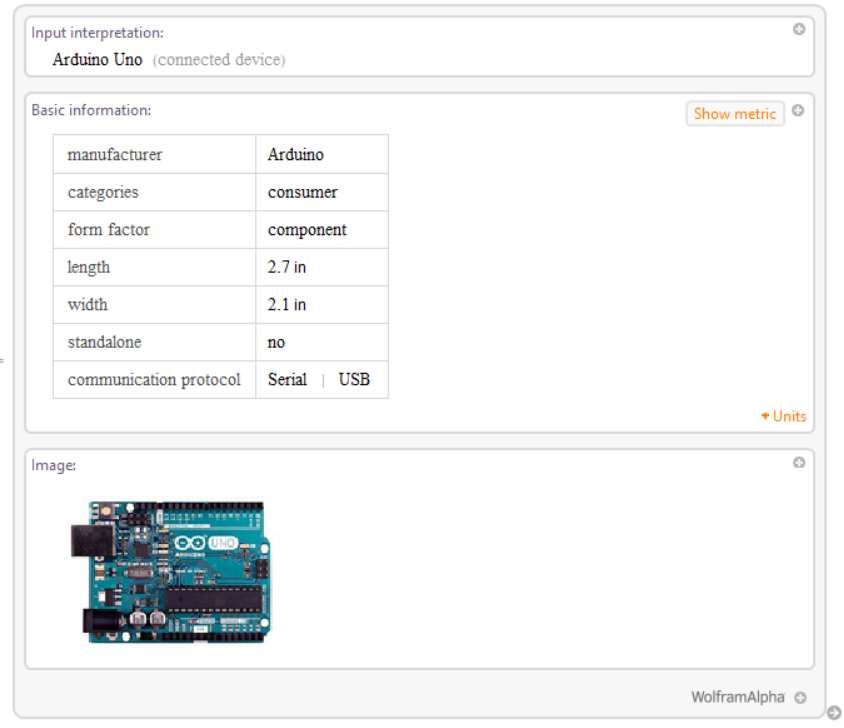
Behold the Arduino:
WolframAlpha["Arduino Uno"]
 An Arduino Uno is an incredibly useful tool, and has enormous applications in all physical computing, (in particular, making a joystick mouse). However, it has it's limitations: for example, my friend, Nadav, told me that mouse and keyboard control are impossible without specific editions of the Arduino - the Arduino Leonardo, to name one example. This is due to the Arduino software limitations: certain libraries are only available on certain boards. Nadav and his friend, Alastair, had tried to make a Morse Code keyboard before coming across this problem, and then I realised that using Mathematica could, once again, be a solution. As Mathematica alone cannot manipulate mouse movements, a Java Link must be used.
Hence, the joystick mouse was born.
Furthermore, the mouse is a problem for many with mobility difficulties. As the mouse, compared to a joystick, requires large motions, it makes it near impossible to use for many. A joystick, however, is far more practical to use with small movements. This makes the joystick mouse significant: it solves a problem efficiently with basic technology.
Components
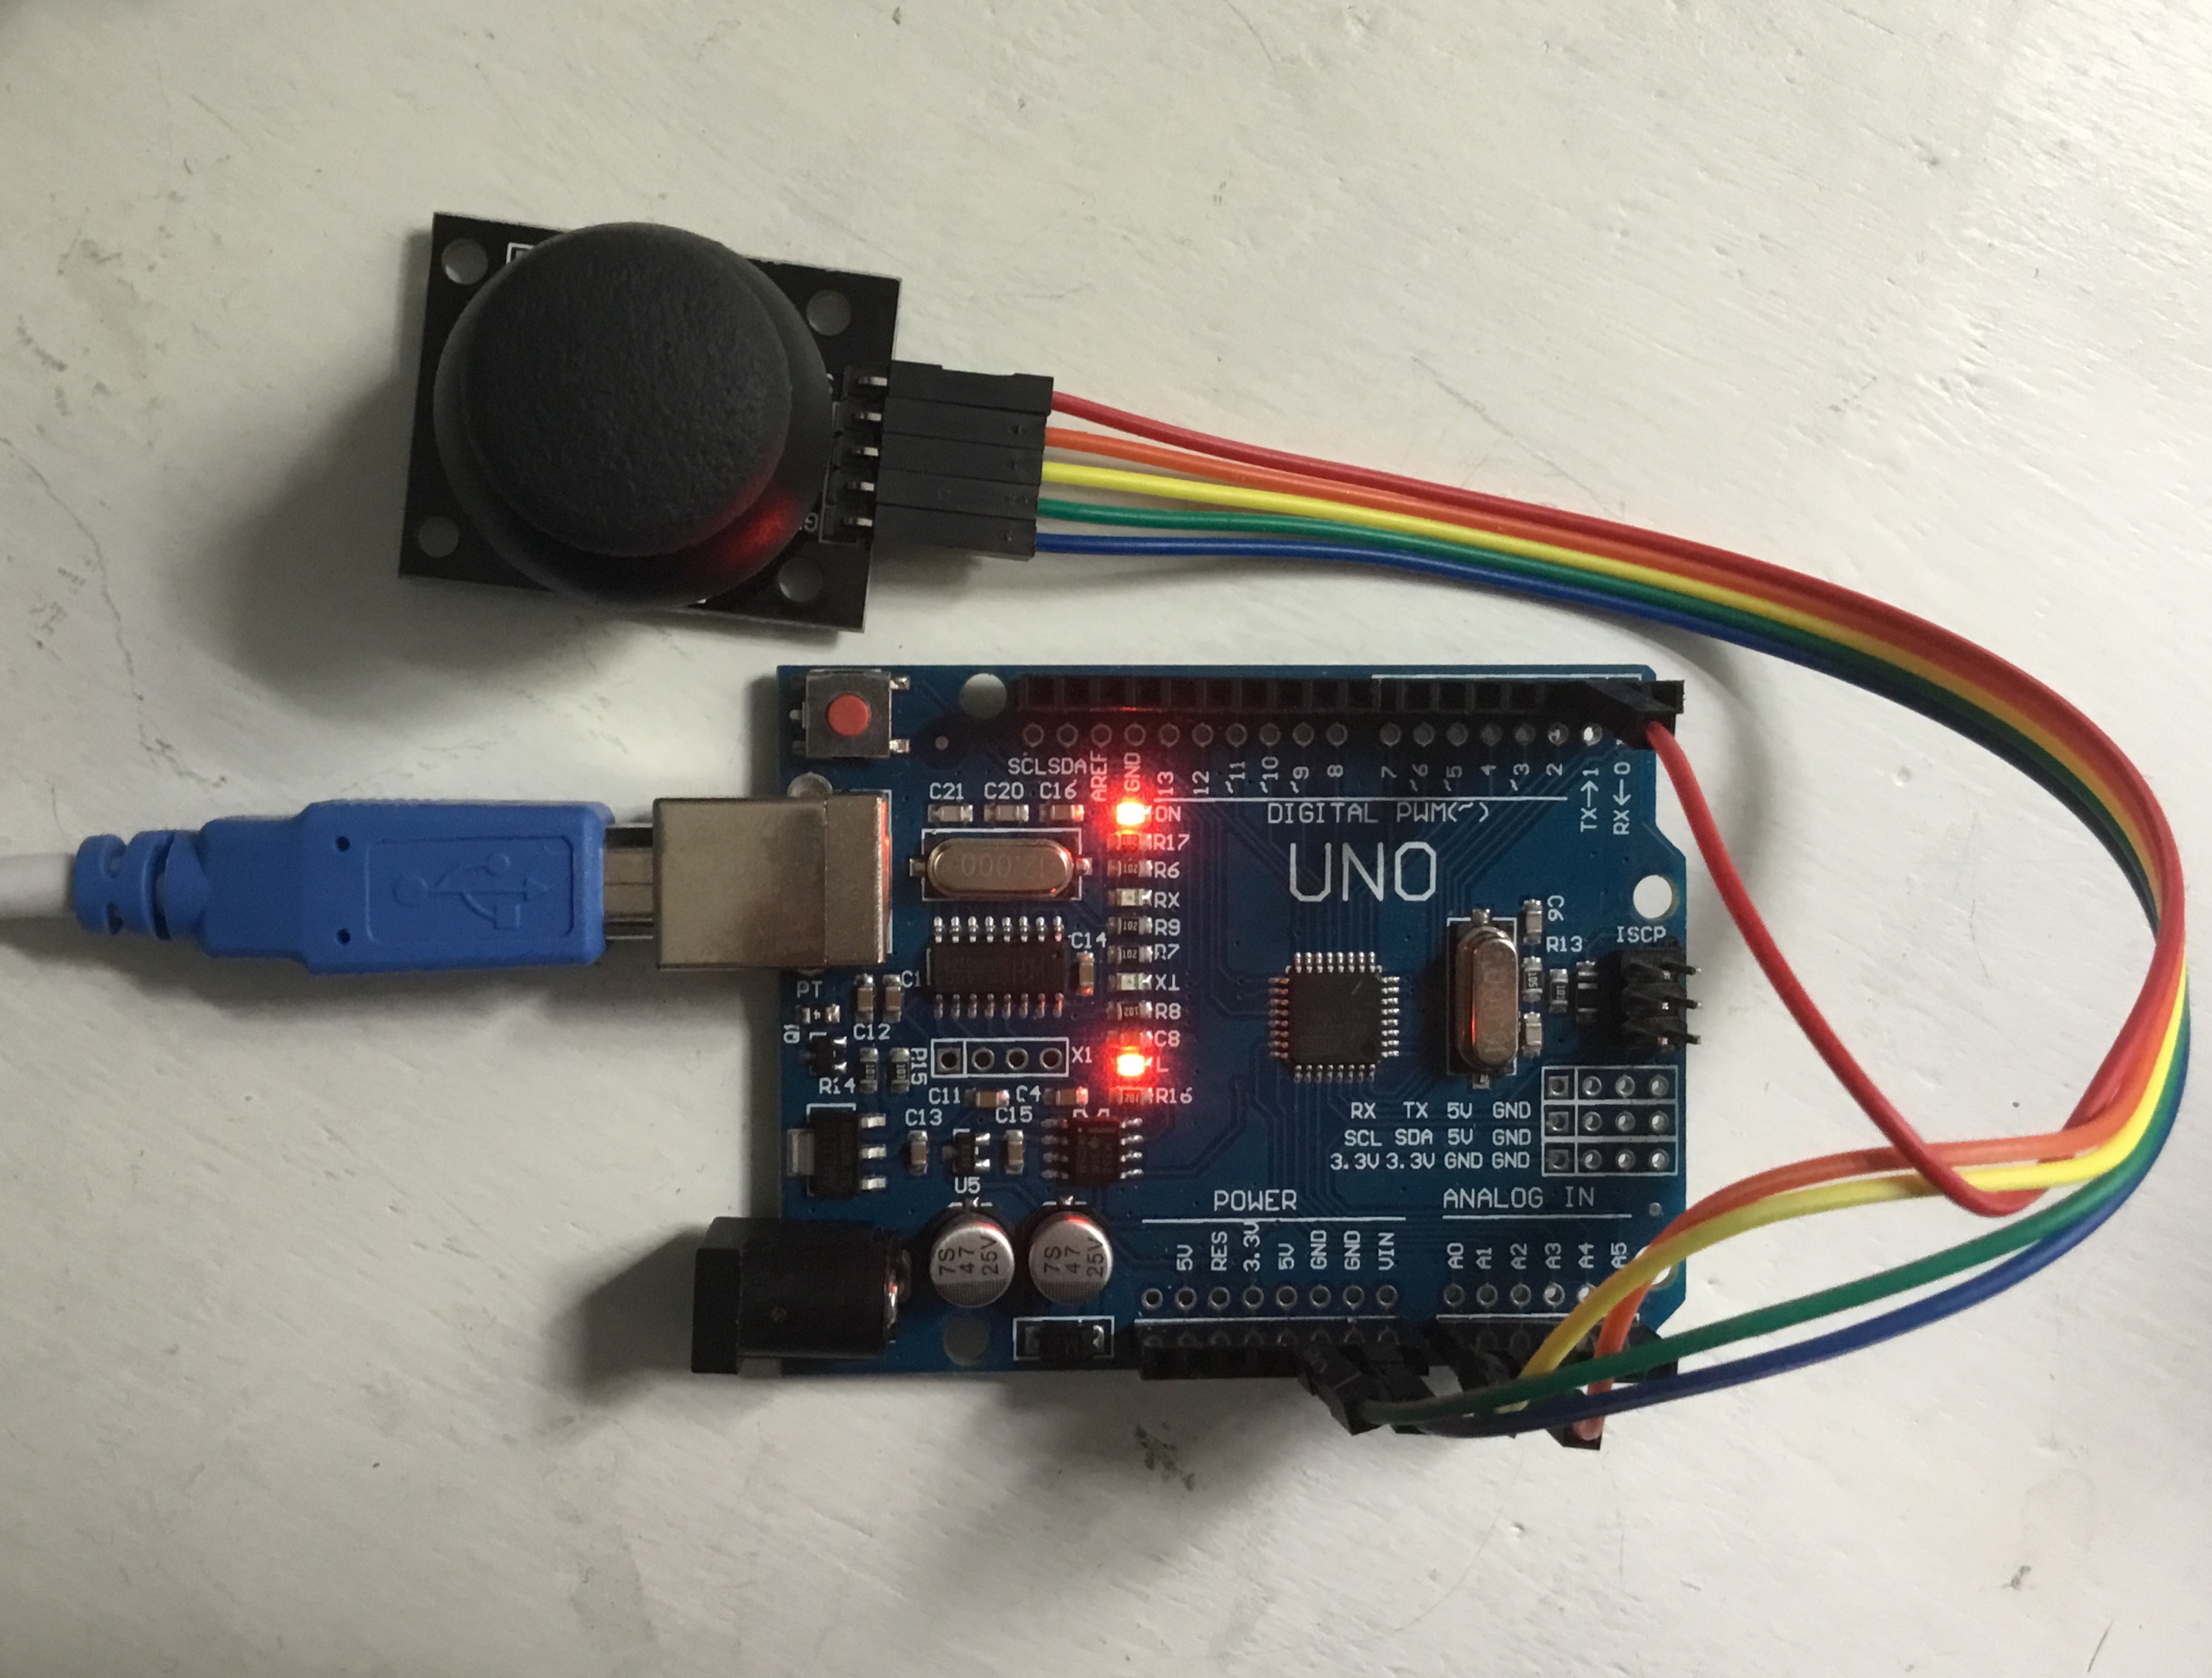
An Arduino Uno, of course! You will also need a fire-wire to connect to the computer (although this normally comes with the Arduino). You can buy these from the official site, (although you do not need the latest version, or necessarily with Bluetooth, or WiFi: any Arduino Uno will do. I have not yet experimented with other editions, but I suspect that they will be fine, although the code may need a little adjusting according to the pins used).
Male-to-female wires (these can be found in abundance on Amazon - my personal preference is eBoot).
The joystick. I would recommend for anyone interested in to physical programming, to buy the 37 sensor kit by Elegoo. This has been incredibly useful for many projects: they are pretty much every sensor you will ever need, and in particular, the joystick. However,
this will do the trick as well.
That's all (oh, and something that runs Mathematica - that is very important)!
Assembly
This diagram shows how to wire the device: 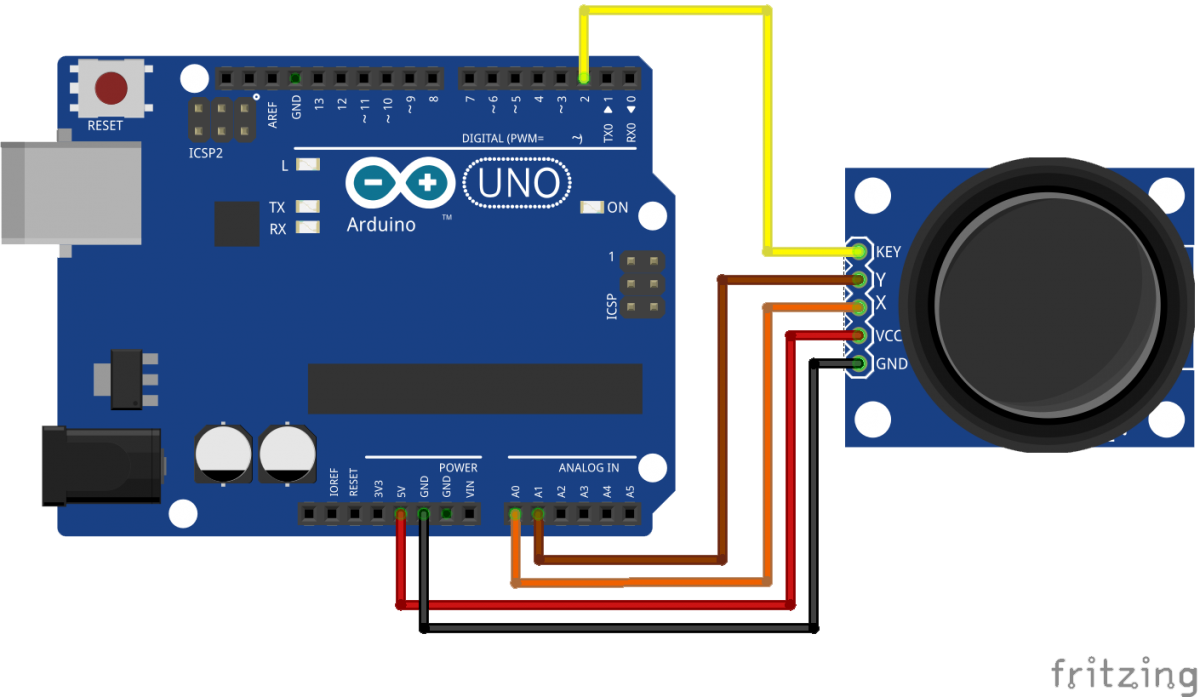 Thanks to Brainy Bits for this (although they did not, much to my disappointment, use a rainbow colour scheme). This then needs to be connected to the computer via the fire-wire
The code
Arduino
At last, I hear you cry! The code!
Well, first we need to connect the Arduino:
arduino = DeviceOpen["Arduino", "COM6" (*this depends on the port you connect the Arduino with and the OS*)
(Note that this may have to be adjusted according to USB connection and operating system).
Then, we test the Arduino pins:
Dynamic[DeviceRead[arduino, {{"A0", "A1"}}]]
which then returns
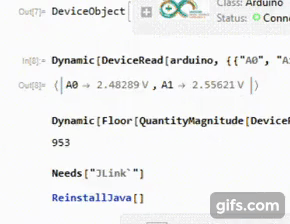
as the joystick is moved.
Java Link
Now we need to create a Java Link to manipulate mouse movements:
Needs["JLink`"]; ReinstallJava[]
Then we need to create a robot:
robot = JavaNew["java.awt.Robot"]
This will be used to create our mouse movements. Just a quick test:
robotclass@mouseMove[#, 300] & /@ Range@1920;
This drags the mouse across the screen like so: 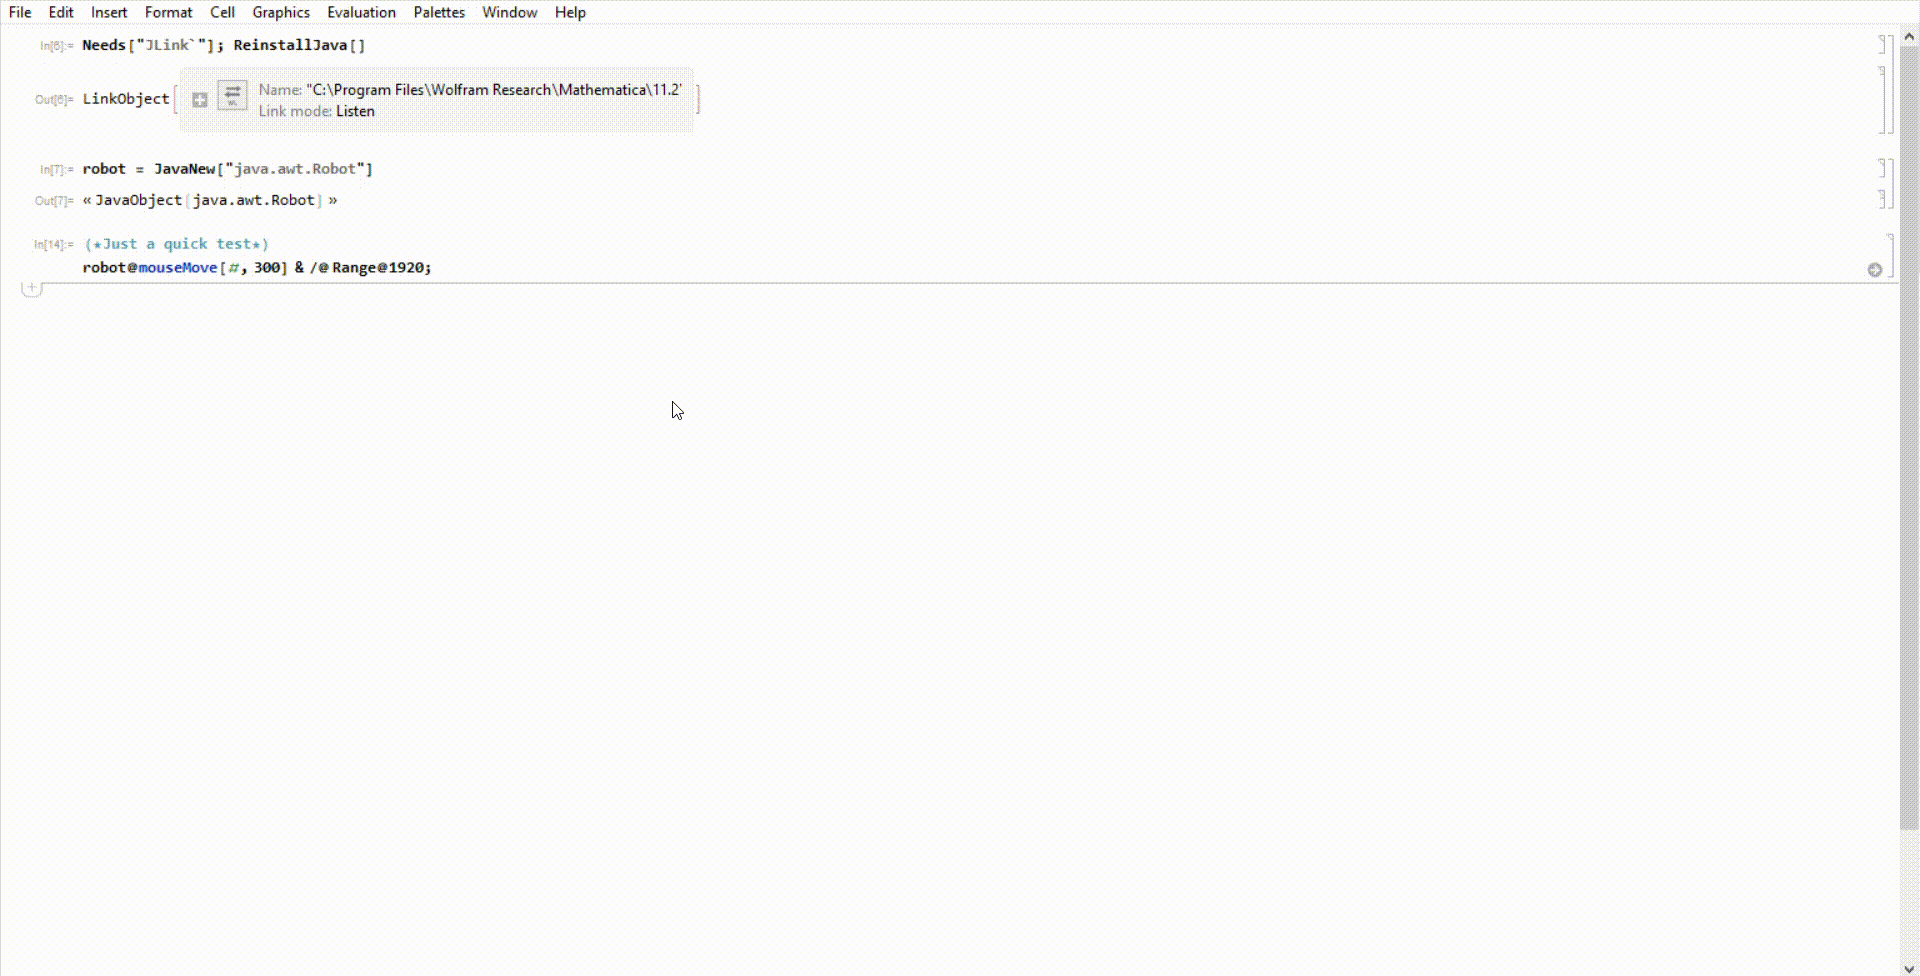
The final line
Now, all we have to do is connect the two together: create a live method to manoeuver the mouse from input with the joystick. We will make use of the MousePosition[] command so:
speed = 10; (*The speed of the mouse*)
While[True, pos = Round/@(MousePosition["ScreenScaled"]*{1920, 1080}); (*Reads mouse coordinates relative to entire screen*)
robot@mouseMove[pos[[1]]+Round[(QuantityMagnitude[DeviceRead[arduino, "A0"]] - 2.5)*speed],pos[[2]]+Round[(QuantityMagnitude[DeviceRead[arduino, "A1"]] - 2.5)*speed]]]
This then enables us to control the mouse from the joystick; and can be stopped by using the abort command (Alt + .).
(see https://youtu.be/hhGnYsJjlK8 for a video of this in action)
The list {1920, 1080} refers to the screen pixel resolution, and may need to be altered according to the computer screen size. As the Arduino outputs range from 0 to 5 volts, we have to centre about 0 by subtracting 2.5. Along with these, corrections must be applied to stop it from drifting across the age (taking -0.1 for x and y seems to work well). One problem is that, once the mouse is connected, it is impossible to control with another (more purpose-built) mouse without it jerking around. However, this is not necessarily a difficulty (as long as the mouse is of sufficient quality).
Conclusion
Using an Arduino Uno and a Java Link, it is possible to convert a joystick into a mouse. Although it has flaws, this will be in continual development (e.g, to add a button to simulate clicks) to improve it. Turns out, it takes a long time writing an entire article with a joystick for a mouse.
See my GitHub page for further updates.
 Attachments:


