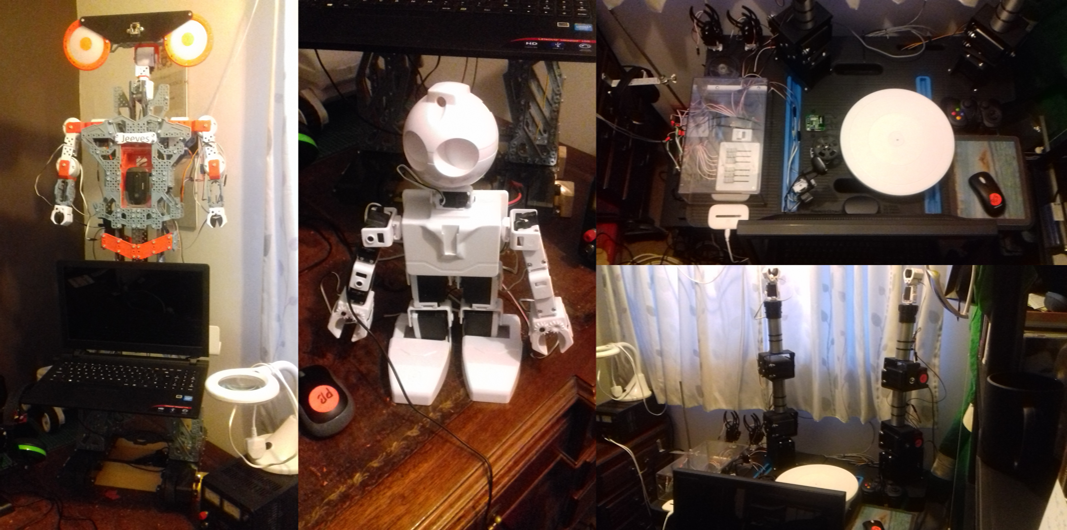
Hi there, (Sharing an idea)
I am a hobbyist user of Mathematica. I am using it to control my three robot systems. Firstly there is Jeeves. It is a modified Meccano G15 KS. The Meccano control system has been removed and replaced with another control system (EZ-Robot). This new controller and its PC based control software is capable of starting an external program. In my case that external program is Mathematica. The sensors on the robot read in data and pass these data onto the PC based control software which then fires up Mathematica which in turn carries out some computation and passes a result back to the PC based control software. Data is stored in files. Using this set up means there can be latency. Sometimes quite a bit. For me this is not a problem as the robot is mainly used to test algorithms. Waiting a minute for a result is not an issue. 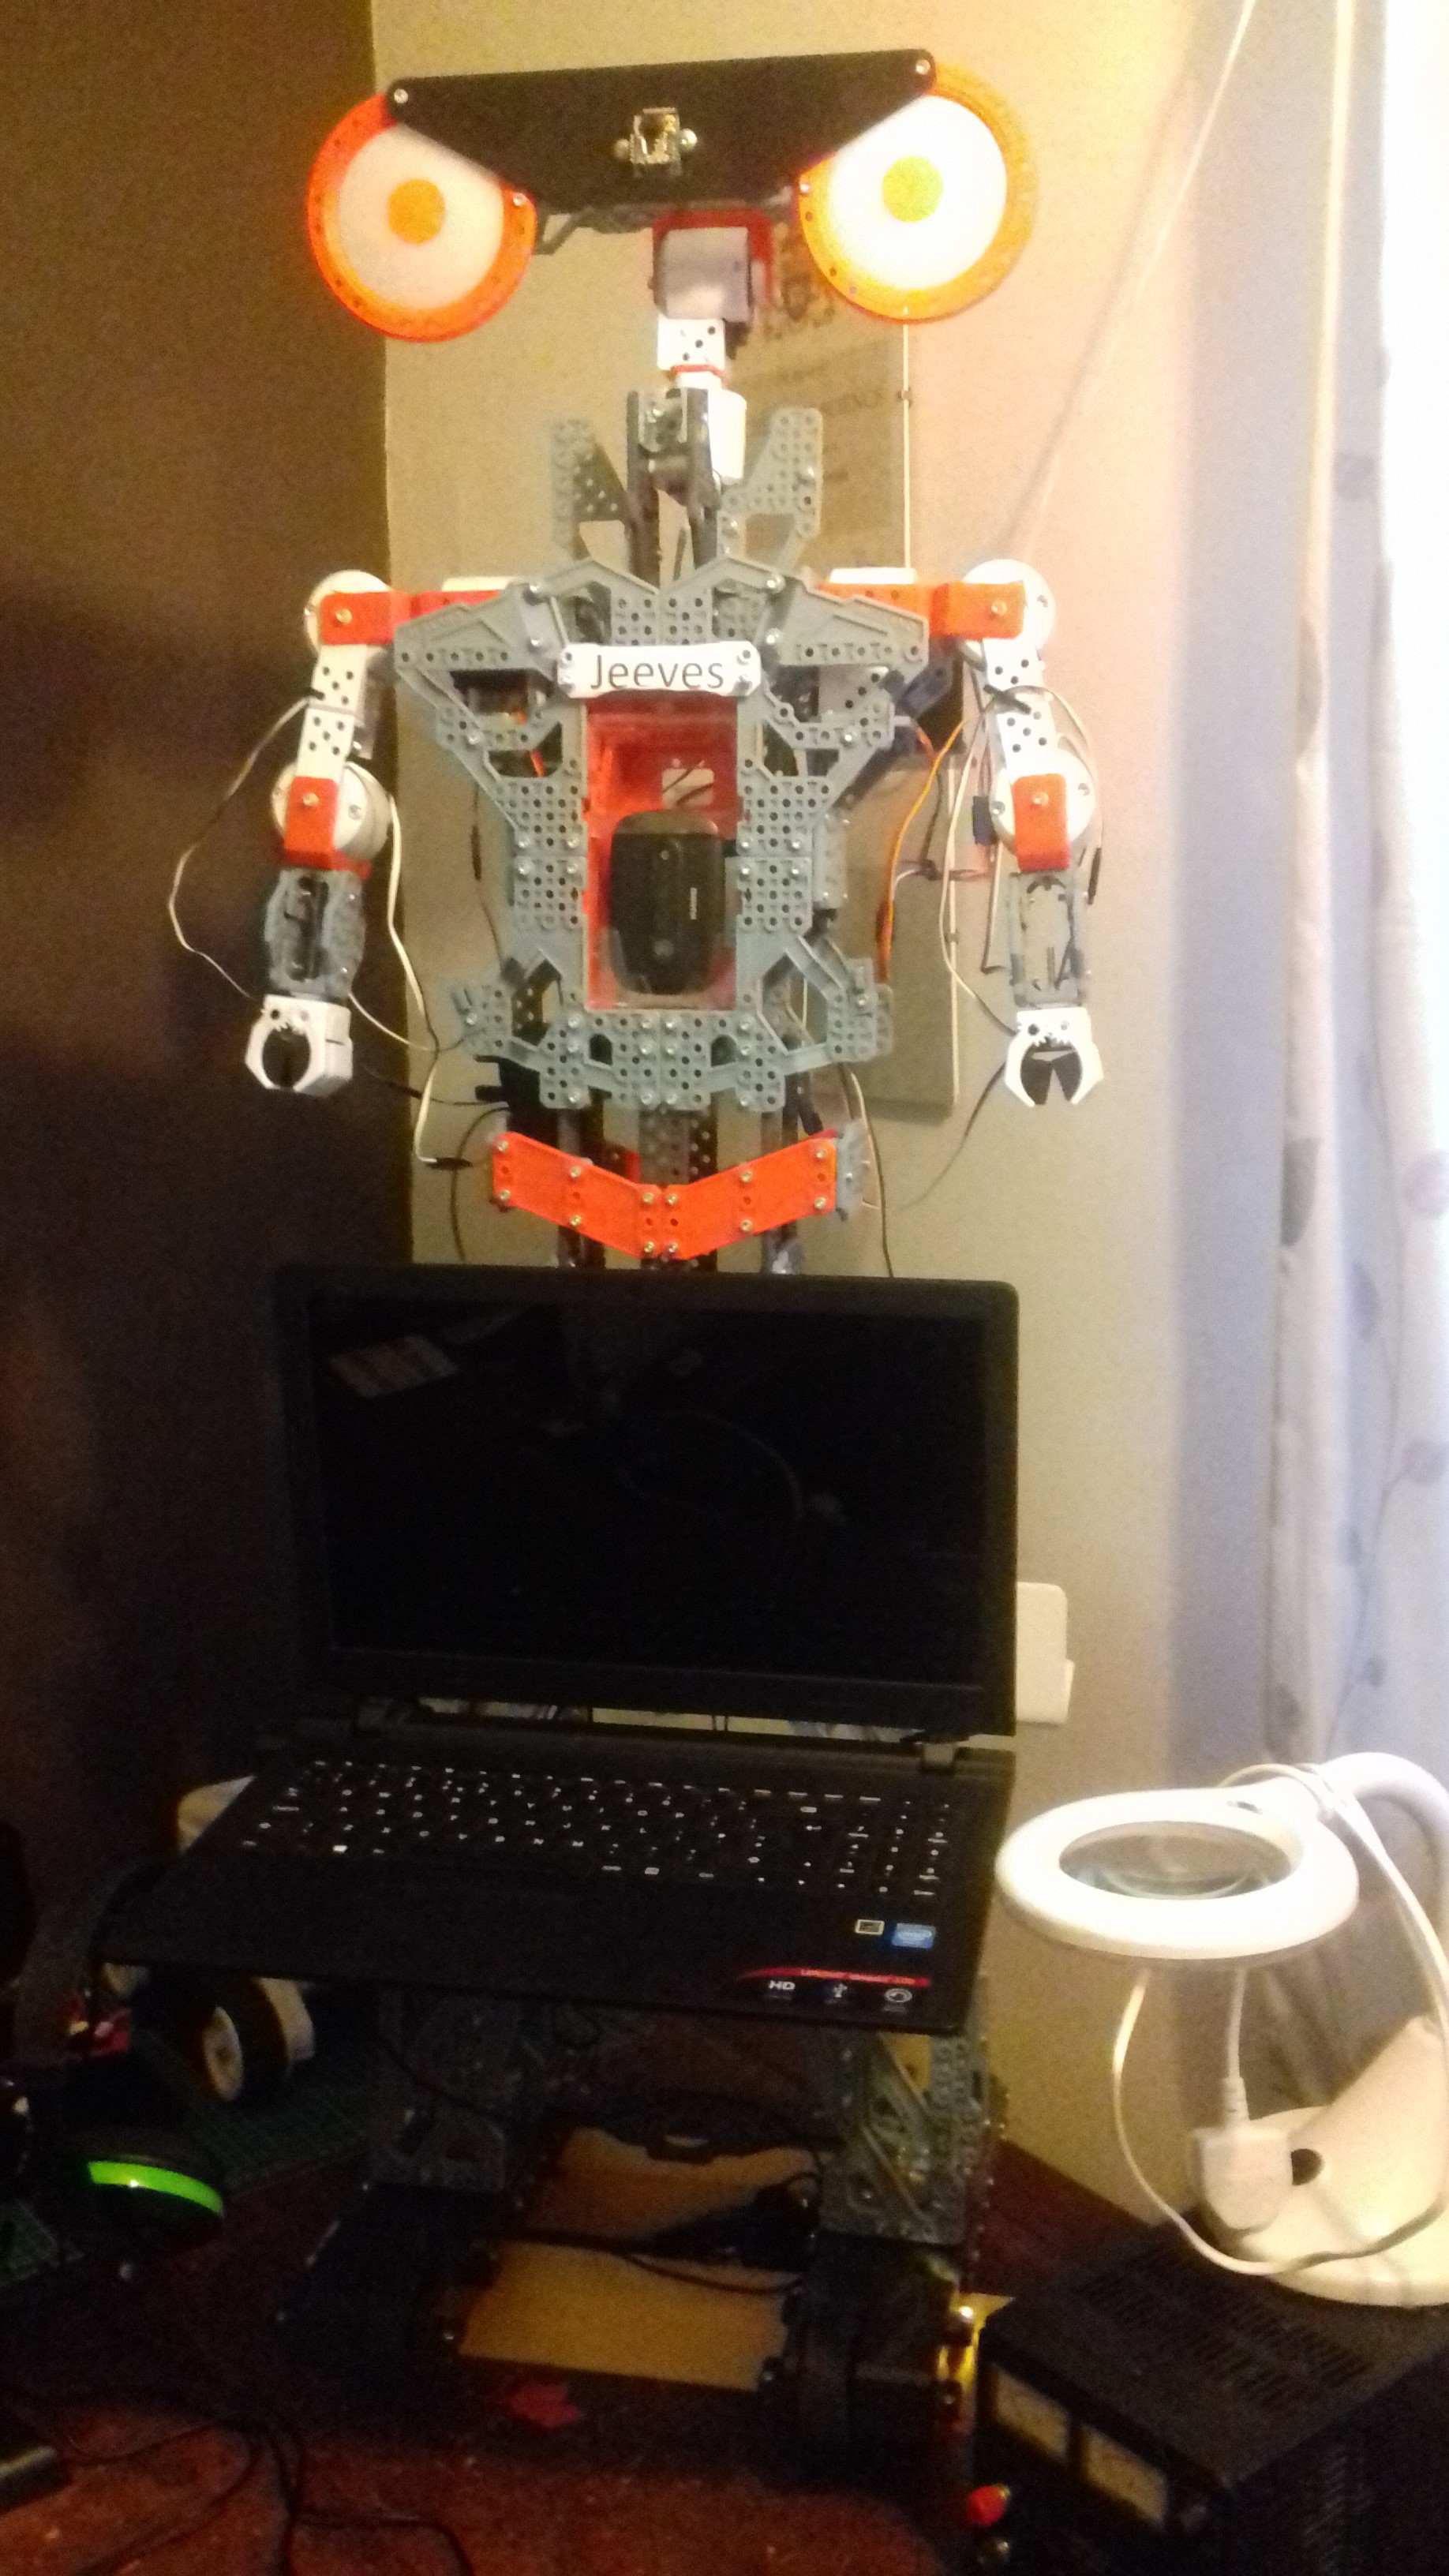
This robot can read text from a sheet of paper or screen and then repeat what it has seen. It can also read text and evaluate it. For example given the question, "What is the capital of England" the robot will reply "London". It can recognise objects in an image(potentially thousands). By reading in text similar to the following "AABBCCD", it will play sounds relating to the musical notes. All this is made possible because of Mathematica. As stated above I use this robot for algorithm testing. In this case Mathematica is used indirectly.
My second robot is a small 16 DOF humanoid robot. This robot is controlled by a 24 channel Pololu Maestro servo controller.
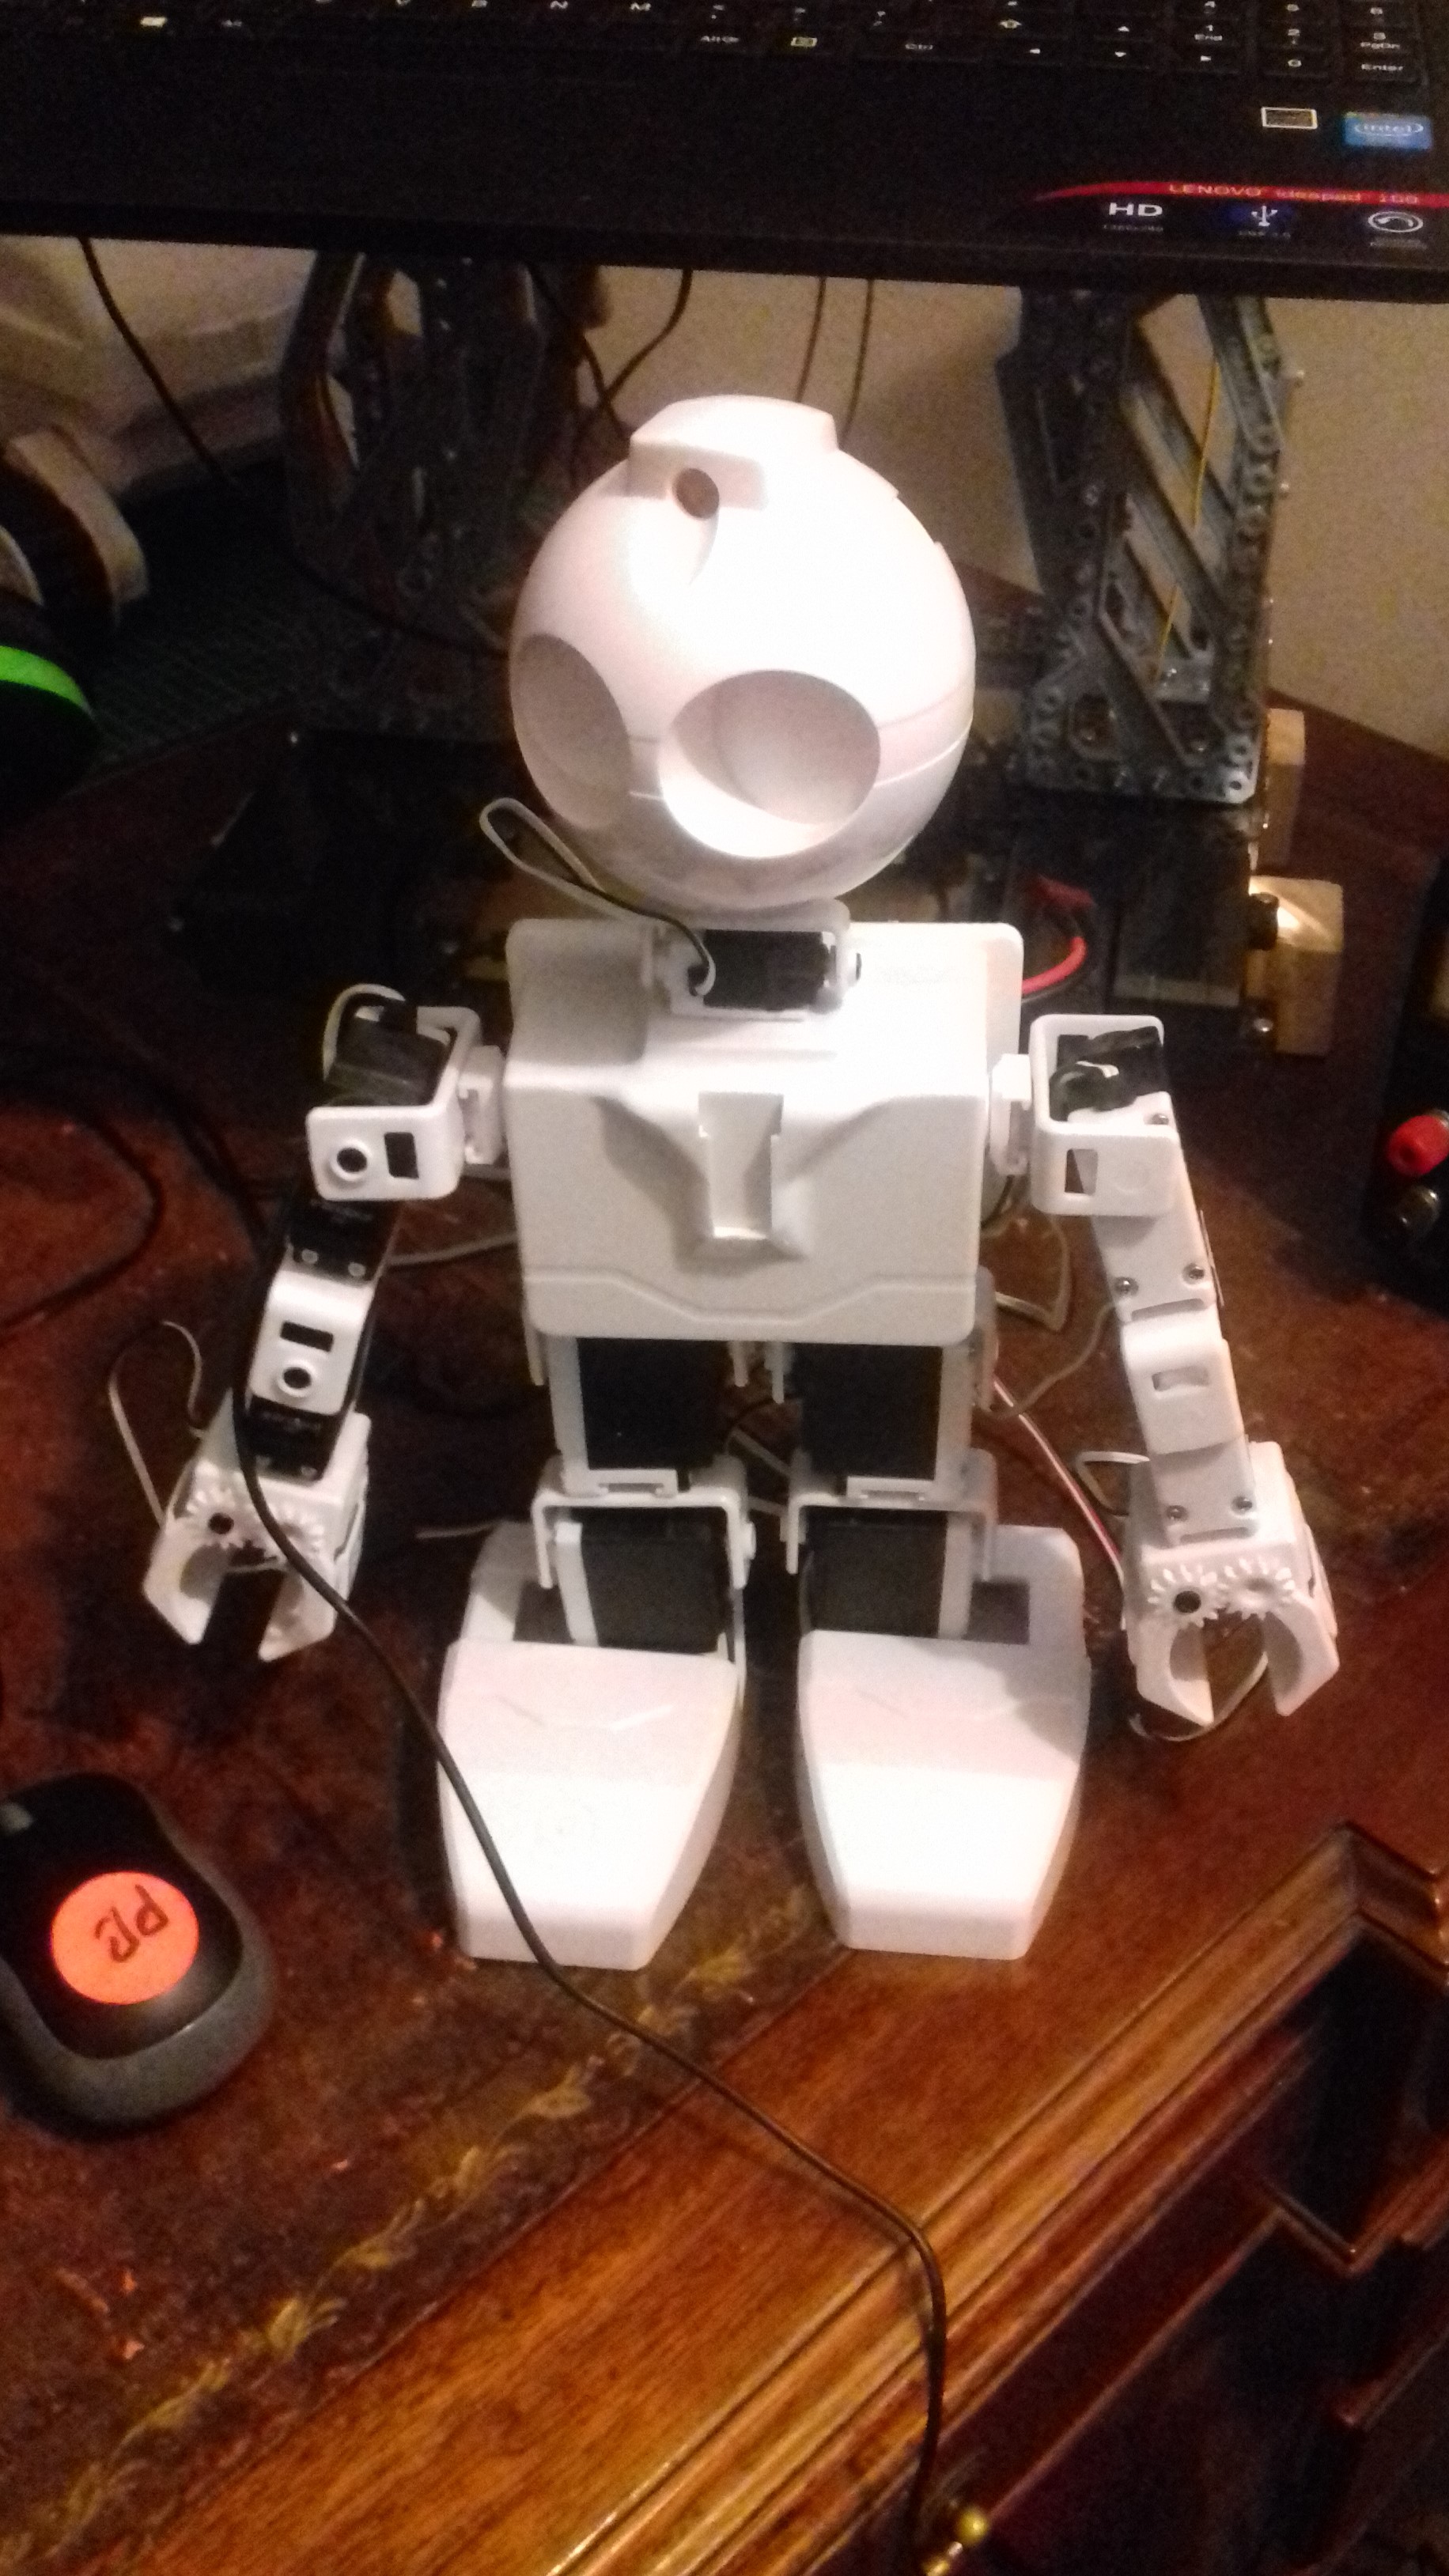
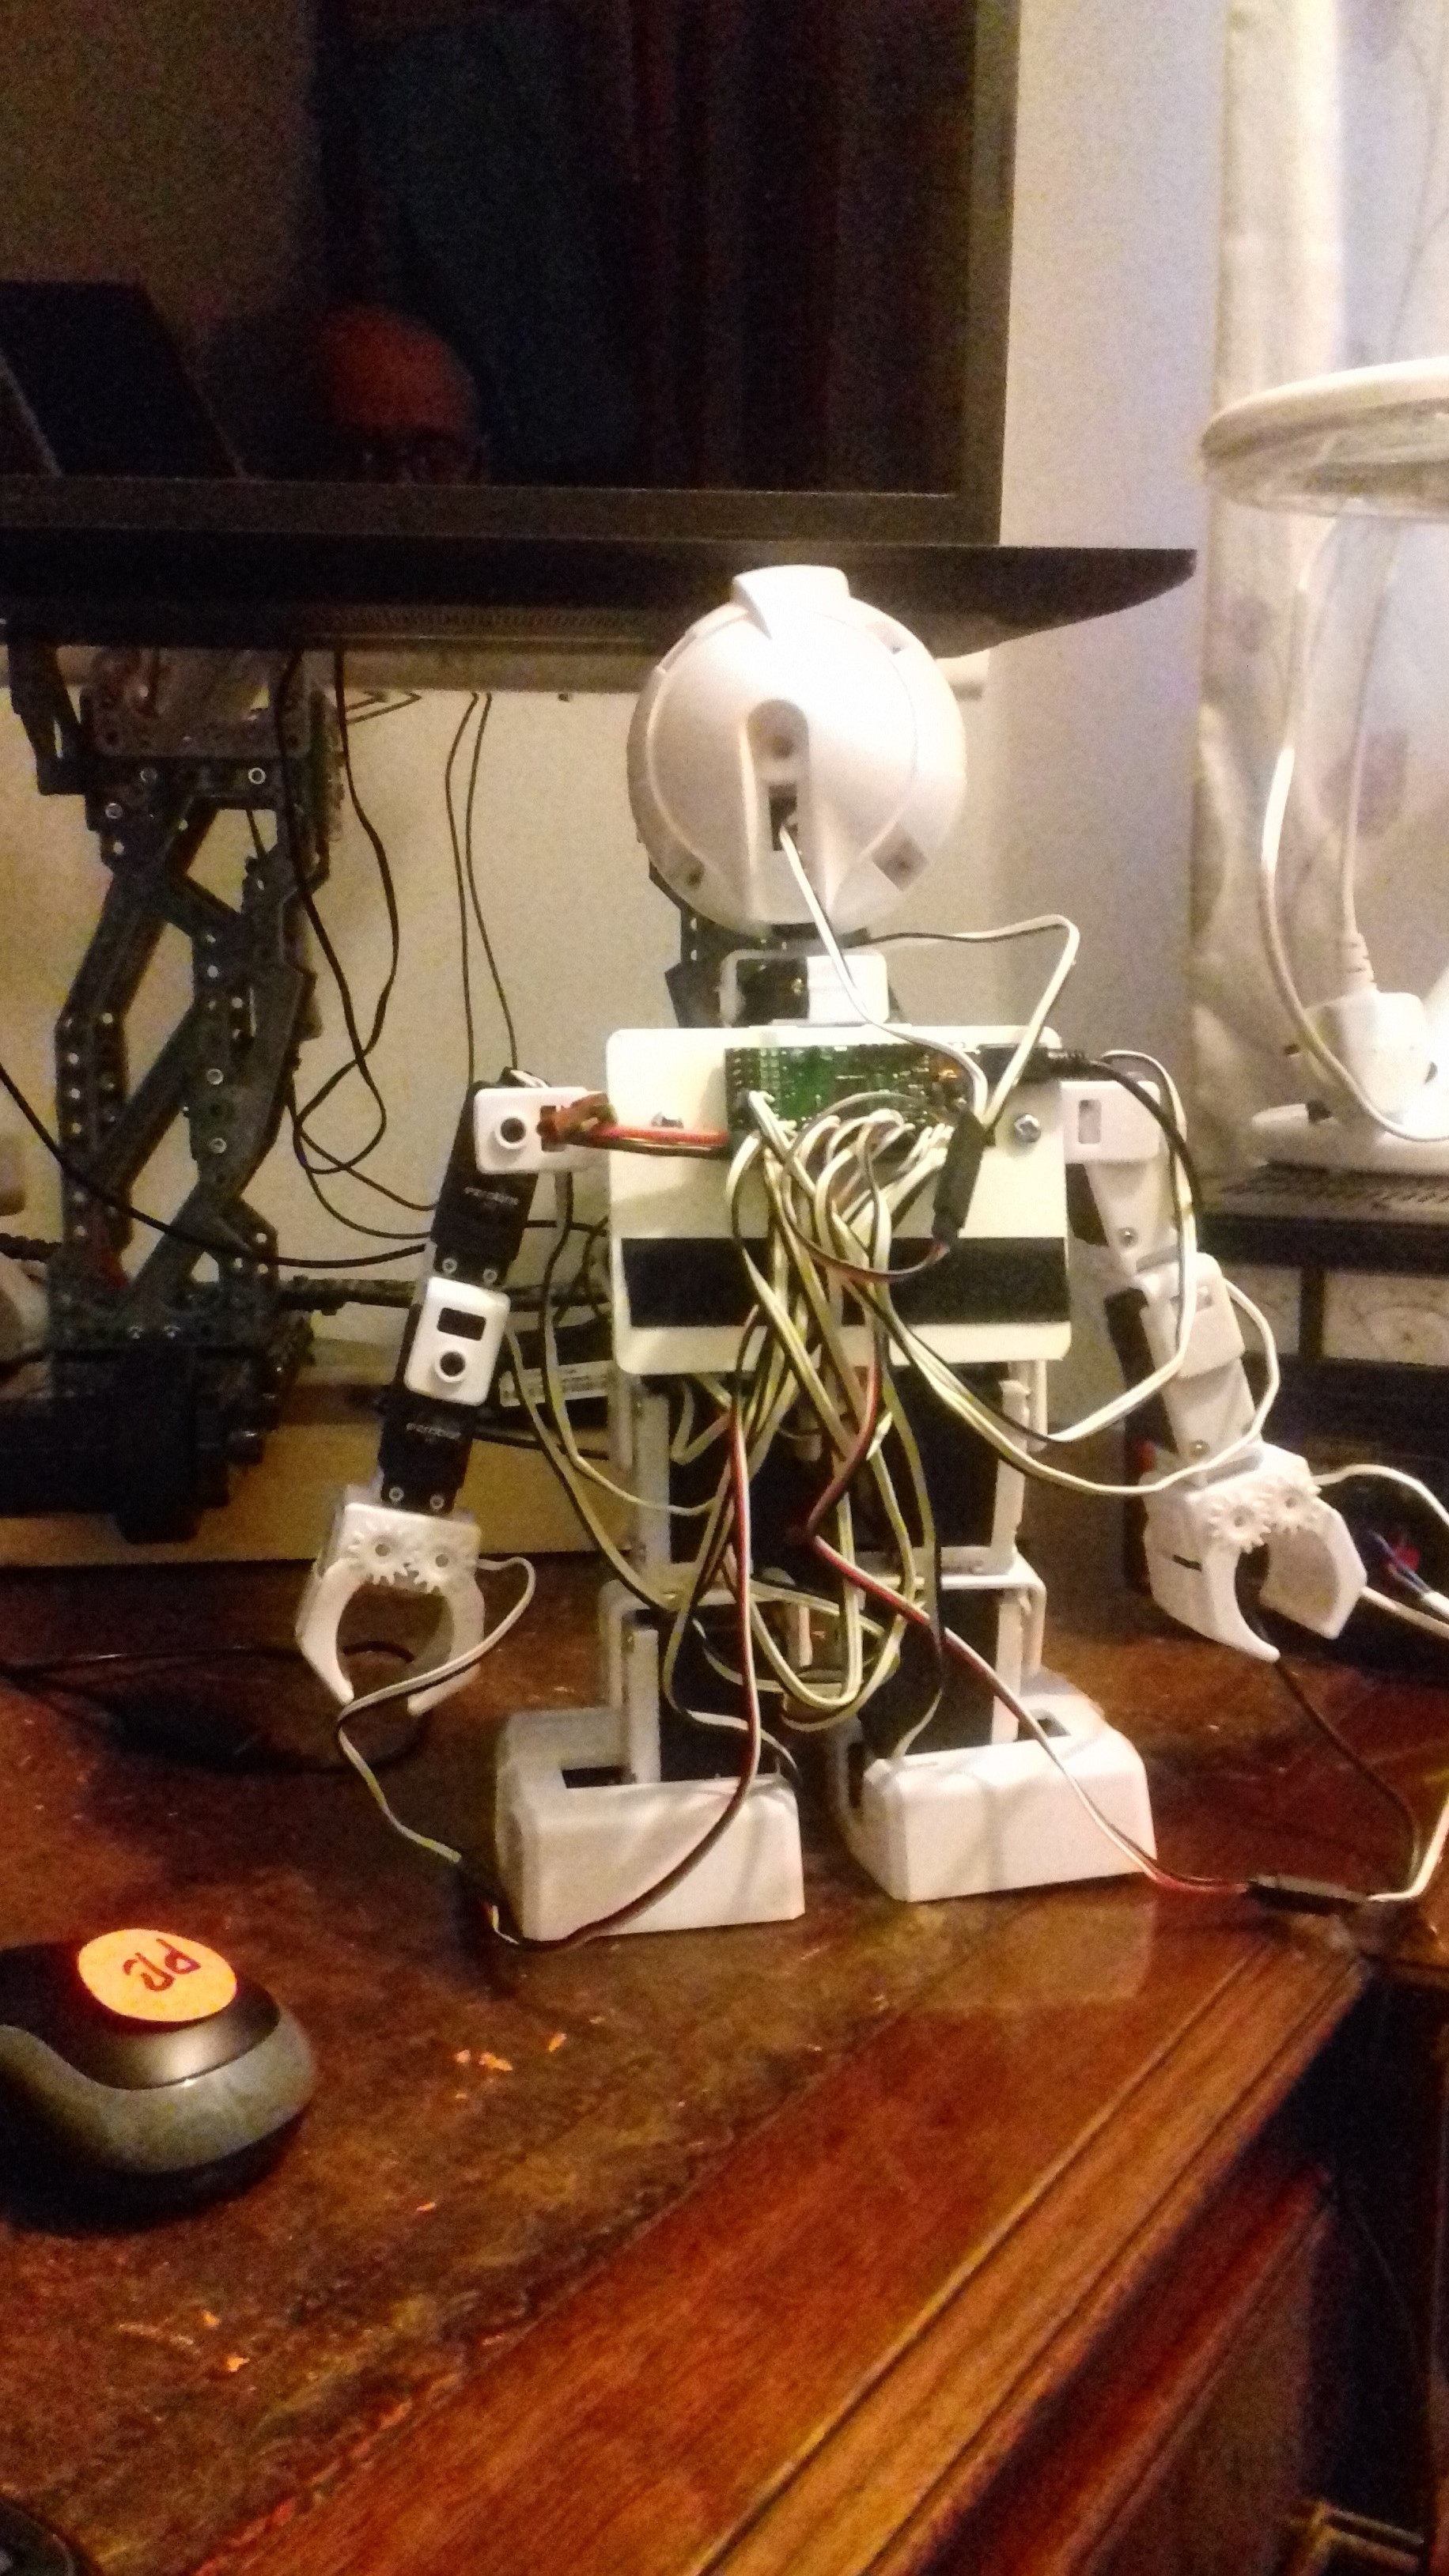
Now this robot is controlled directly by Mathematica. All code is contained in a notebook and uses all the features of connected devices contained within Mathematica. Data can be read from and sent to the robot. Just by using the Manipulate function every servo in the robot can be controlled by Mathematica. I have not done so at the moment but to create a robot animation system with Mathematica would only be a few dozen lines of code. That is one of my first tasks. This robot is a modified EZ-Robot now totally under the control of Mathematica.
My third robot is a robot workbench. Built by me to test more complex algorithms. This is controlled by a 24 channel Pololu Maestro servo controller. In turn controlled completely by, you guessed Mathematica.
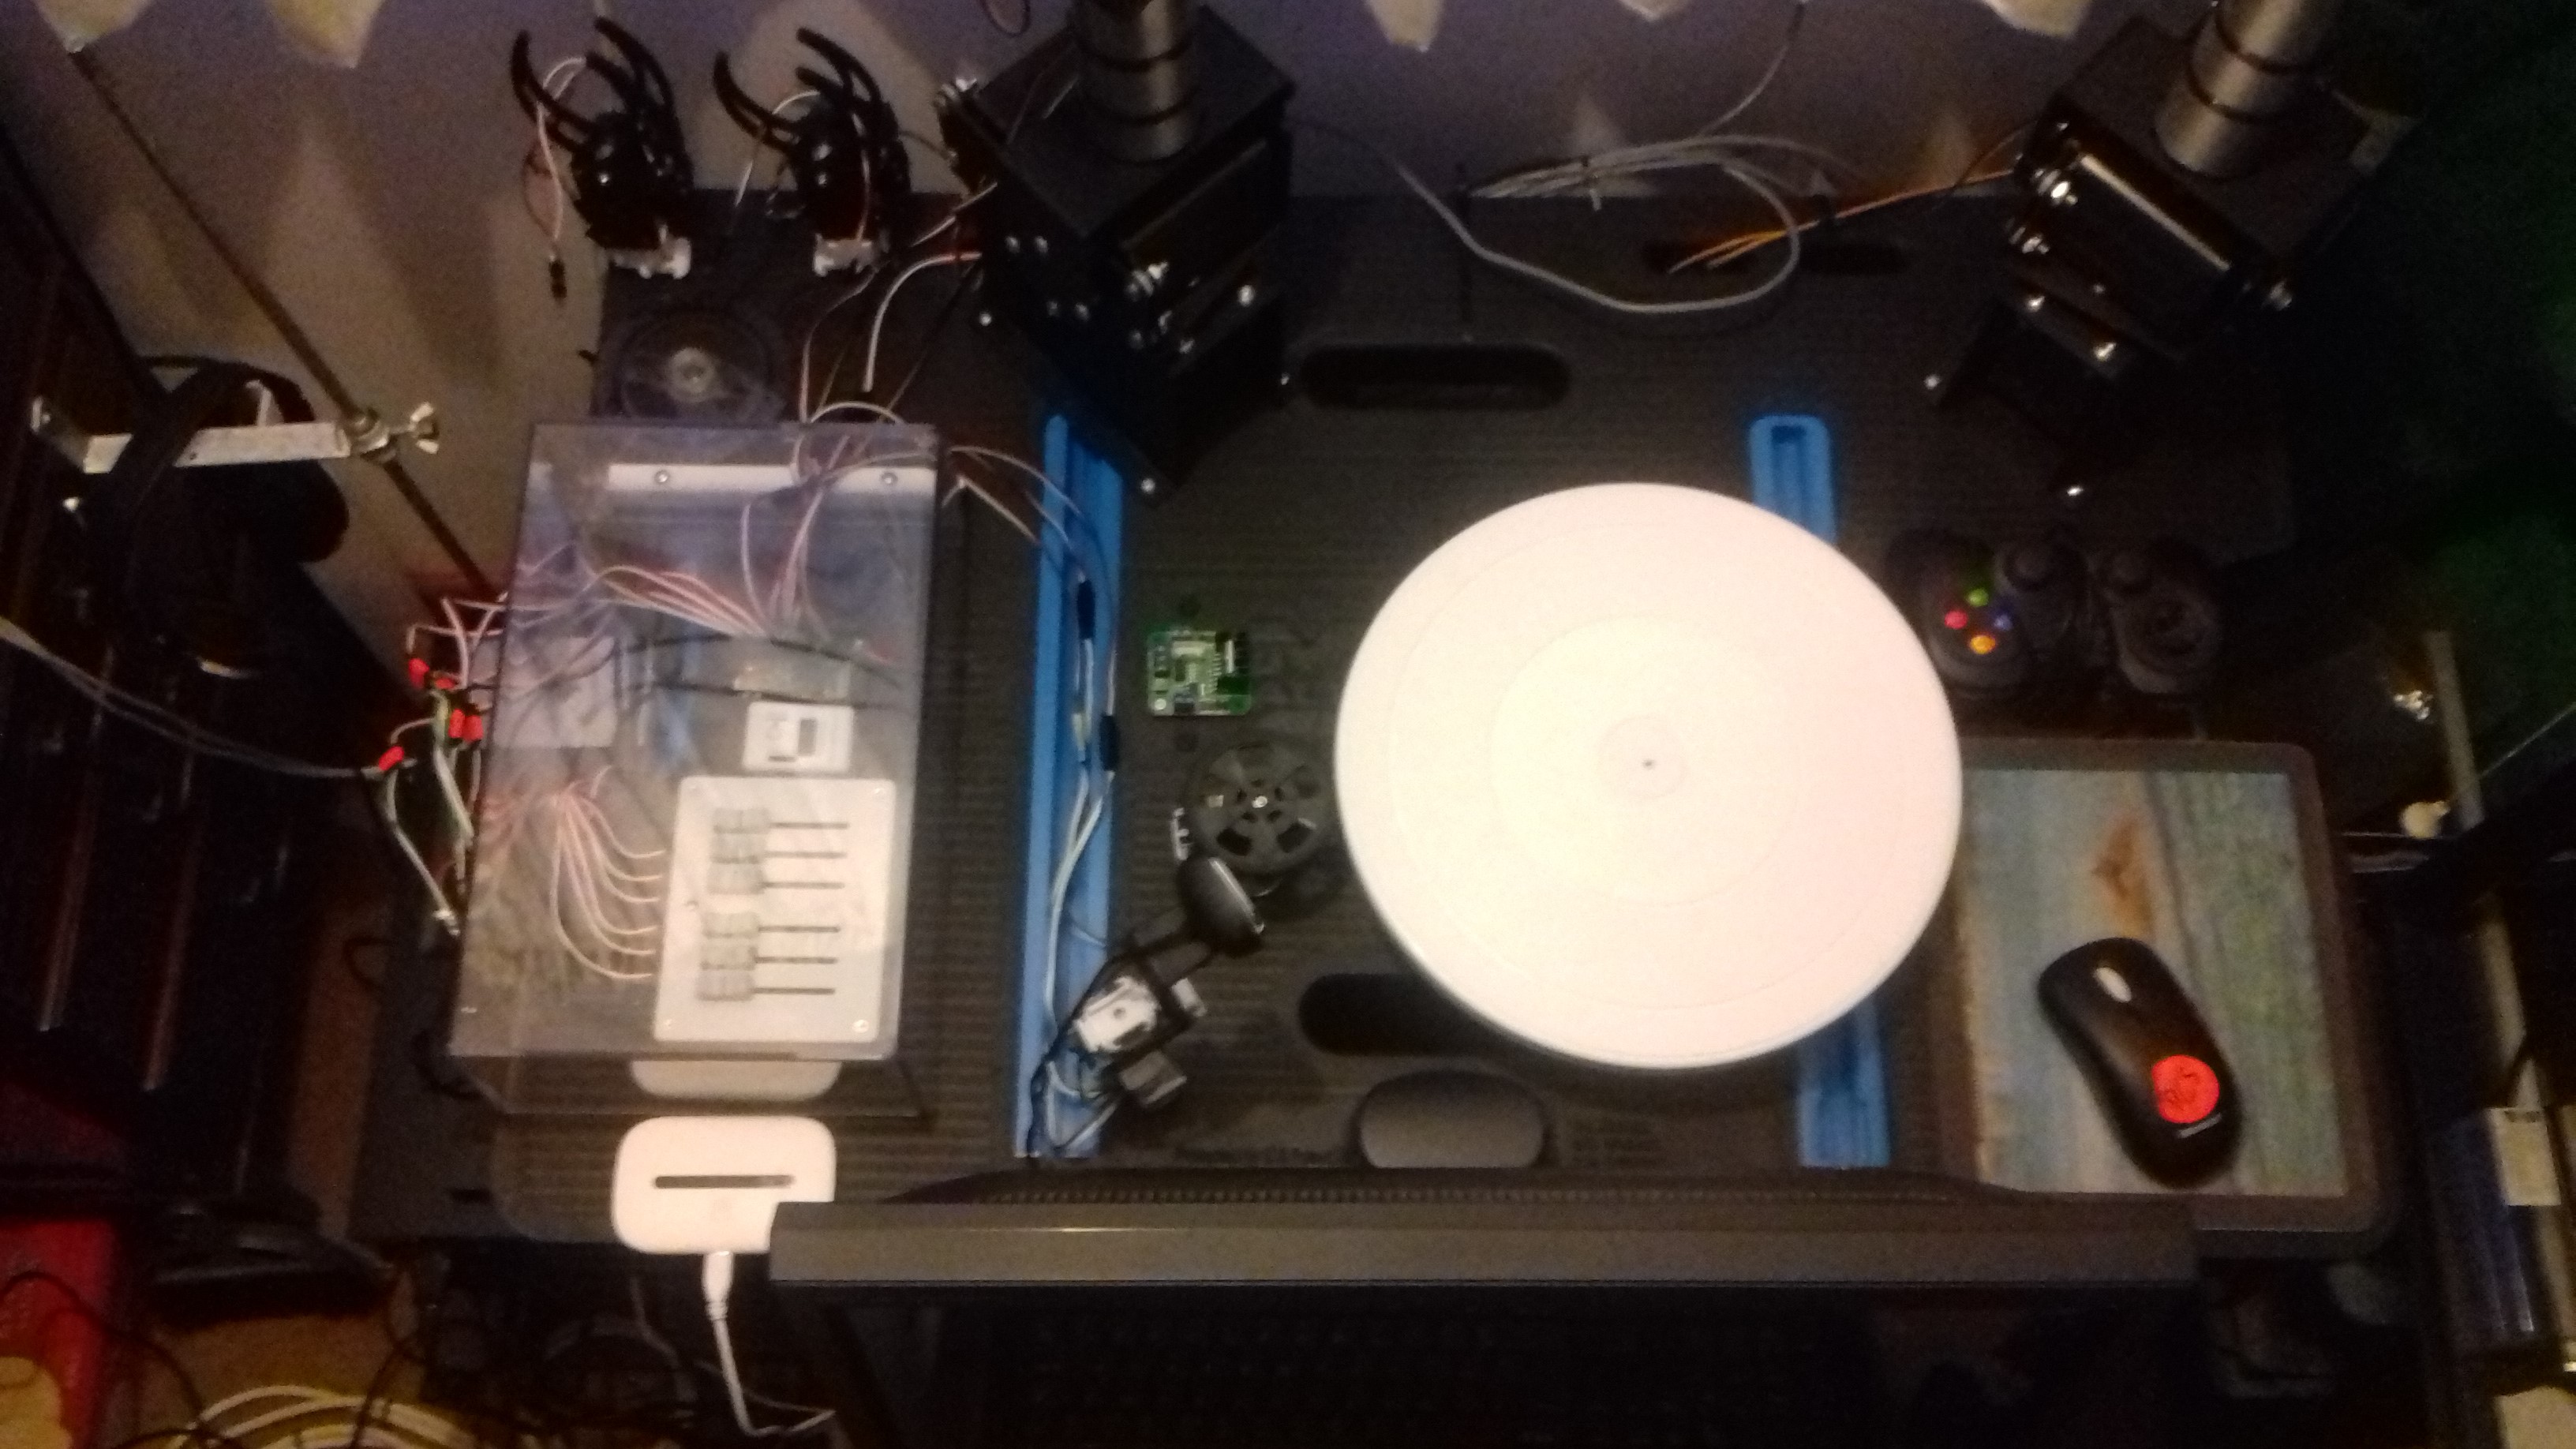
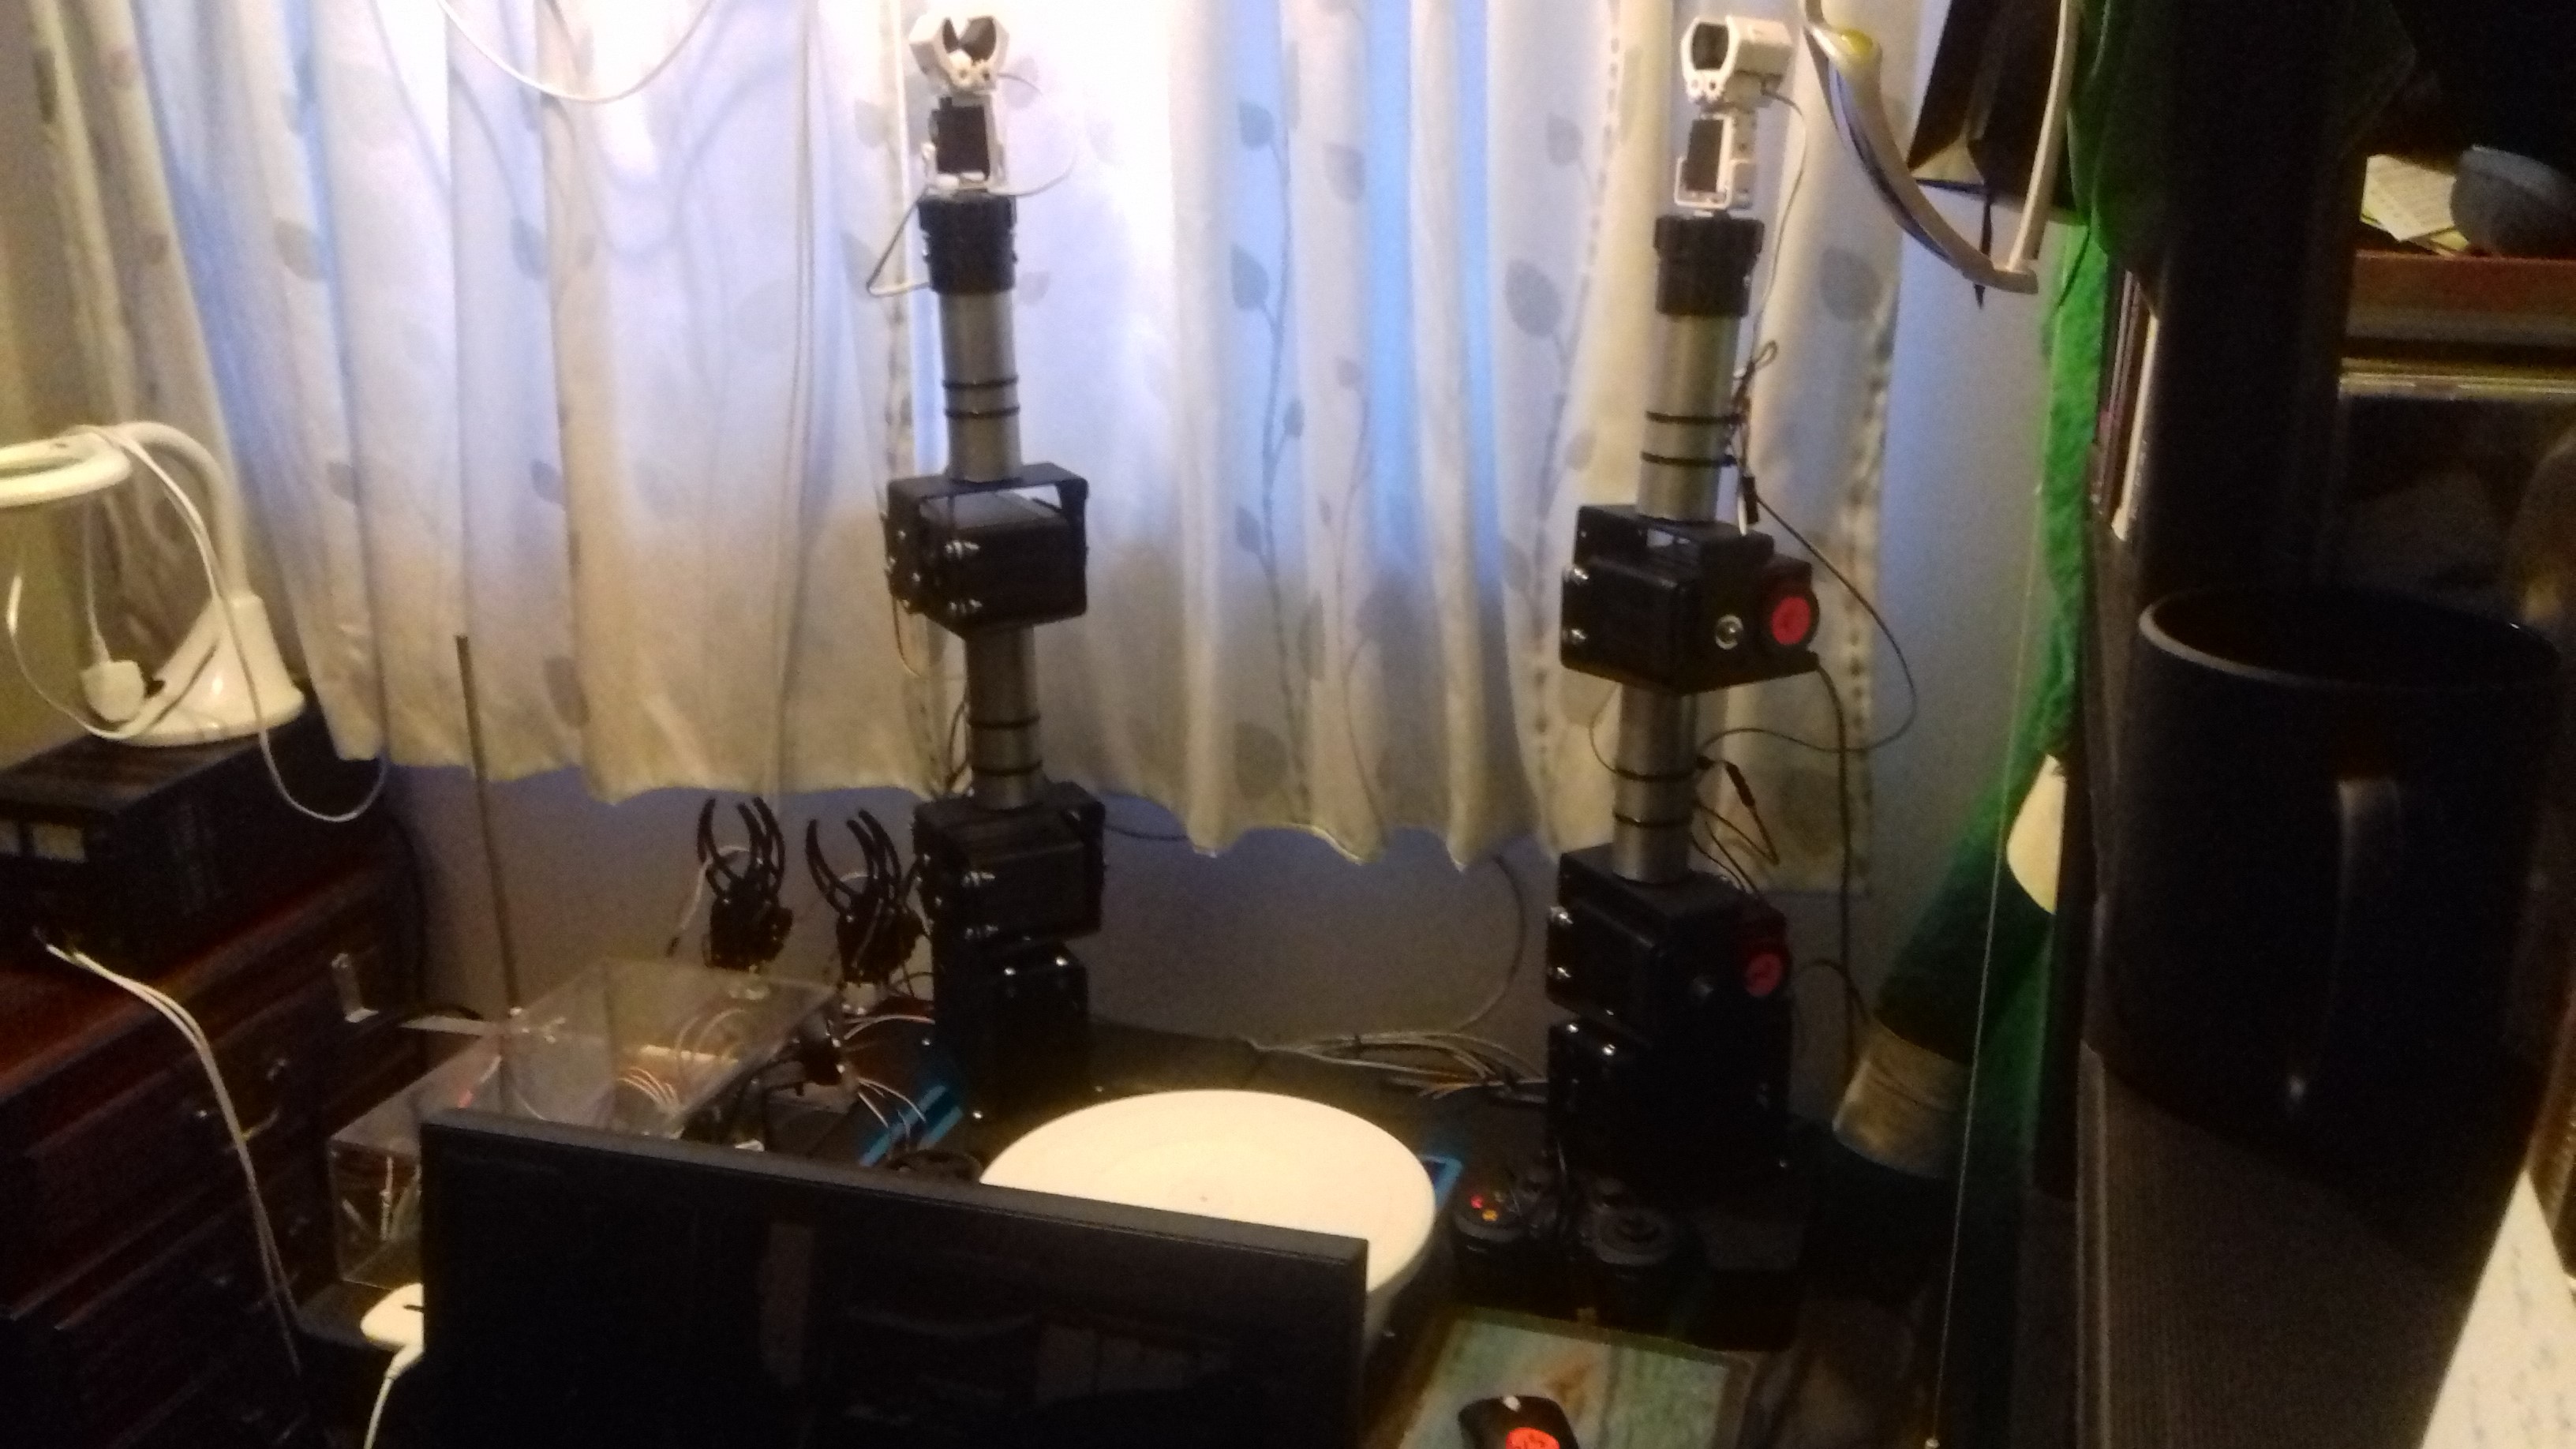
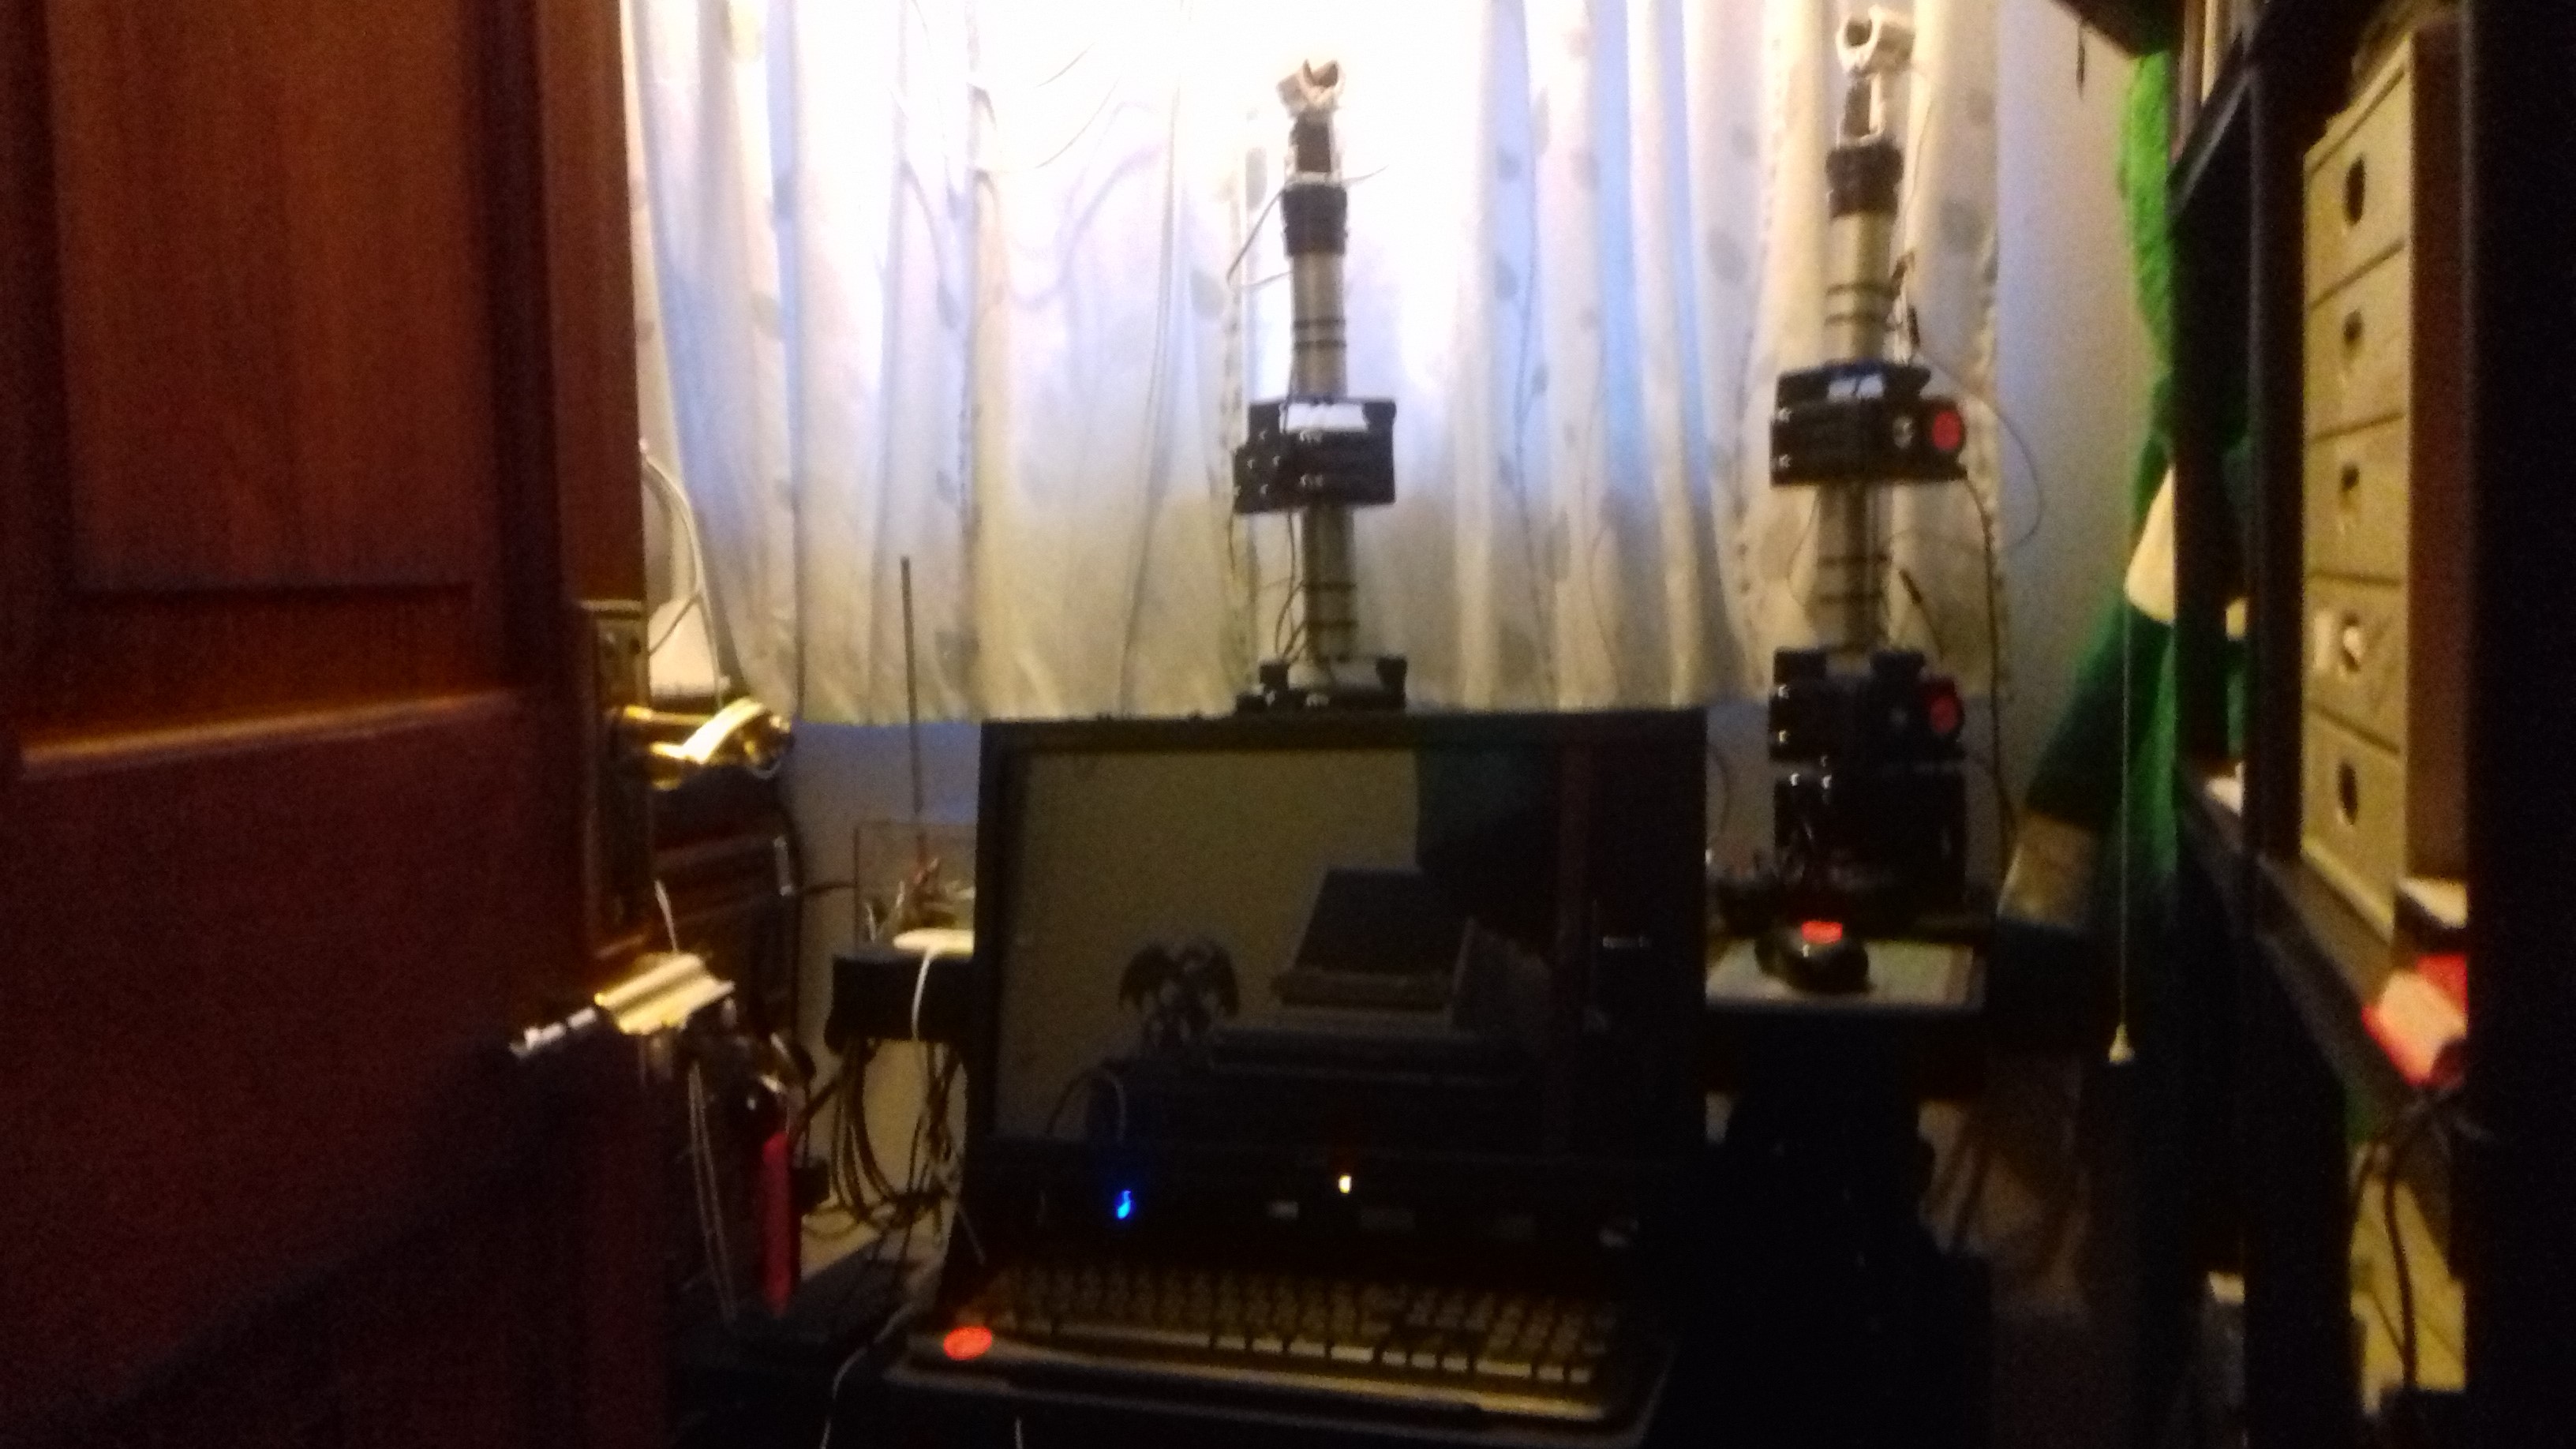
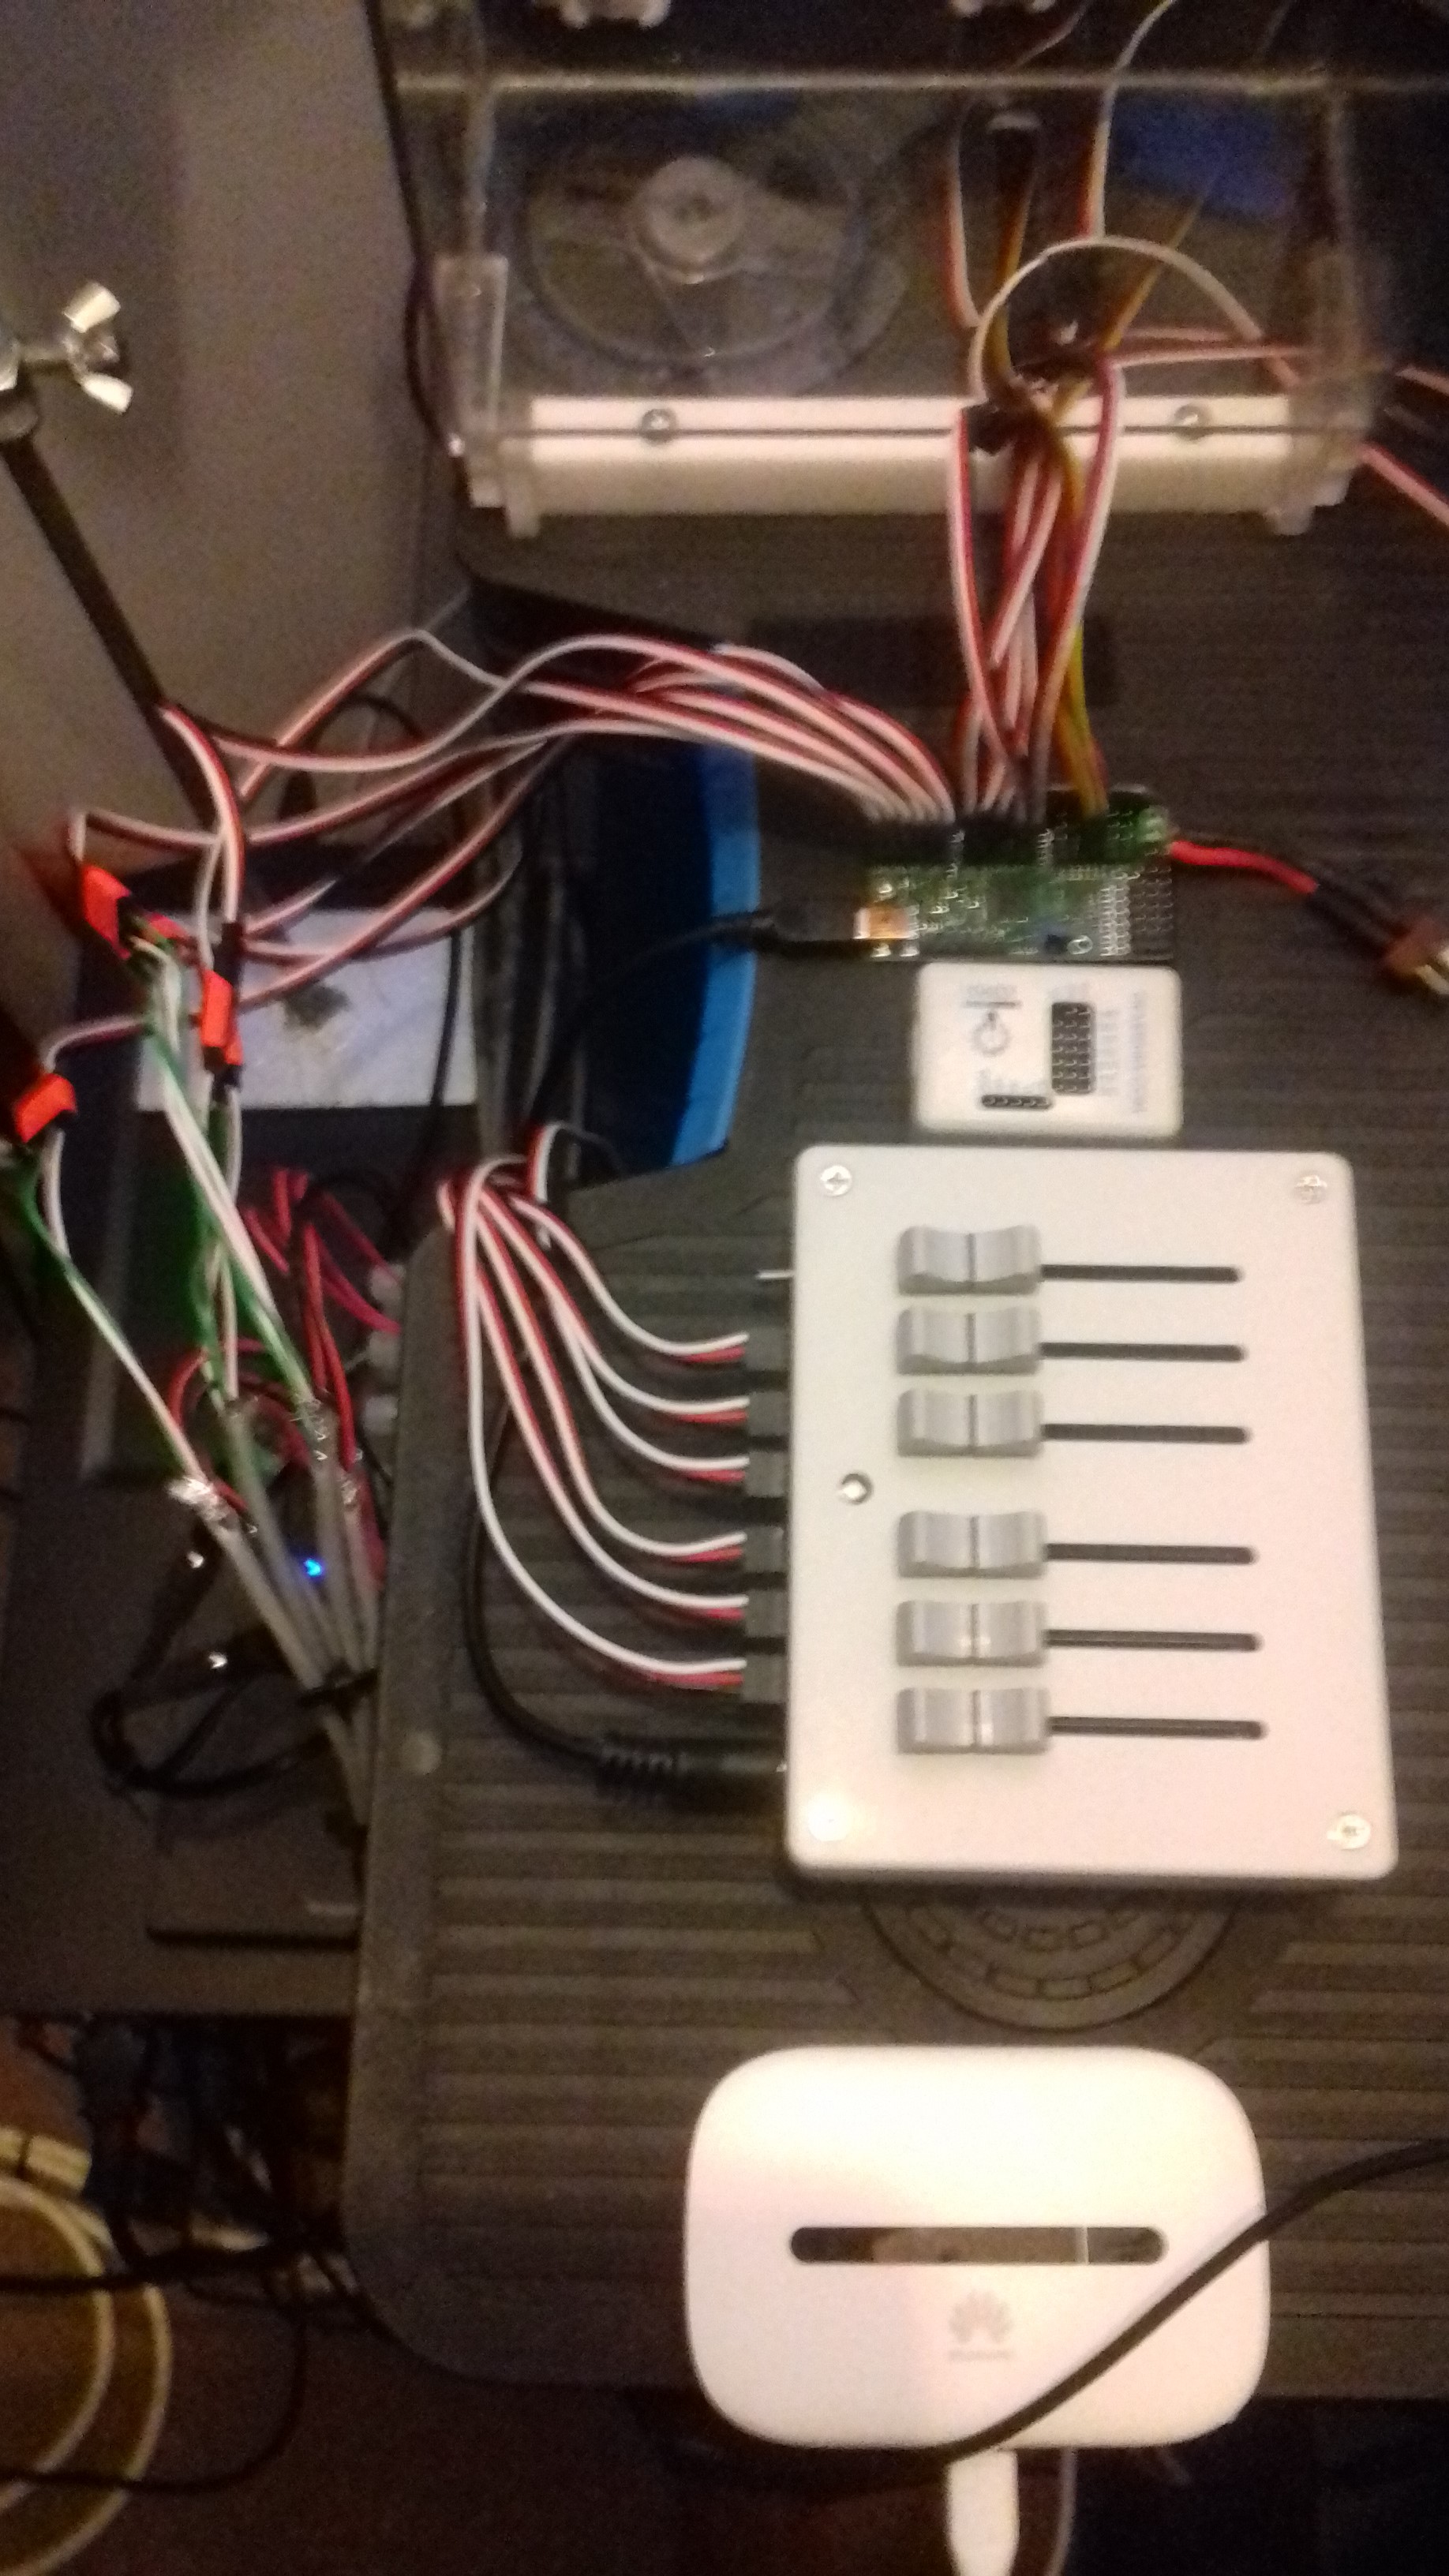
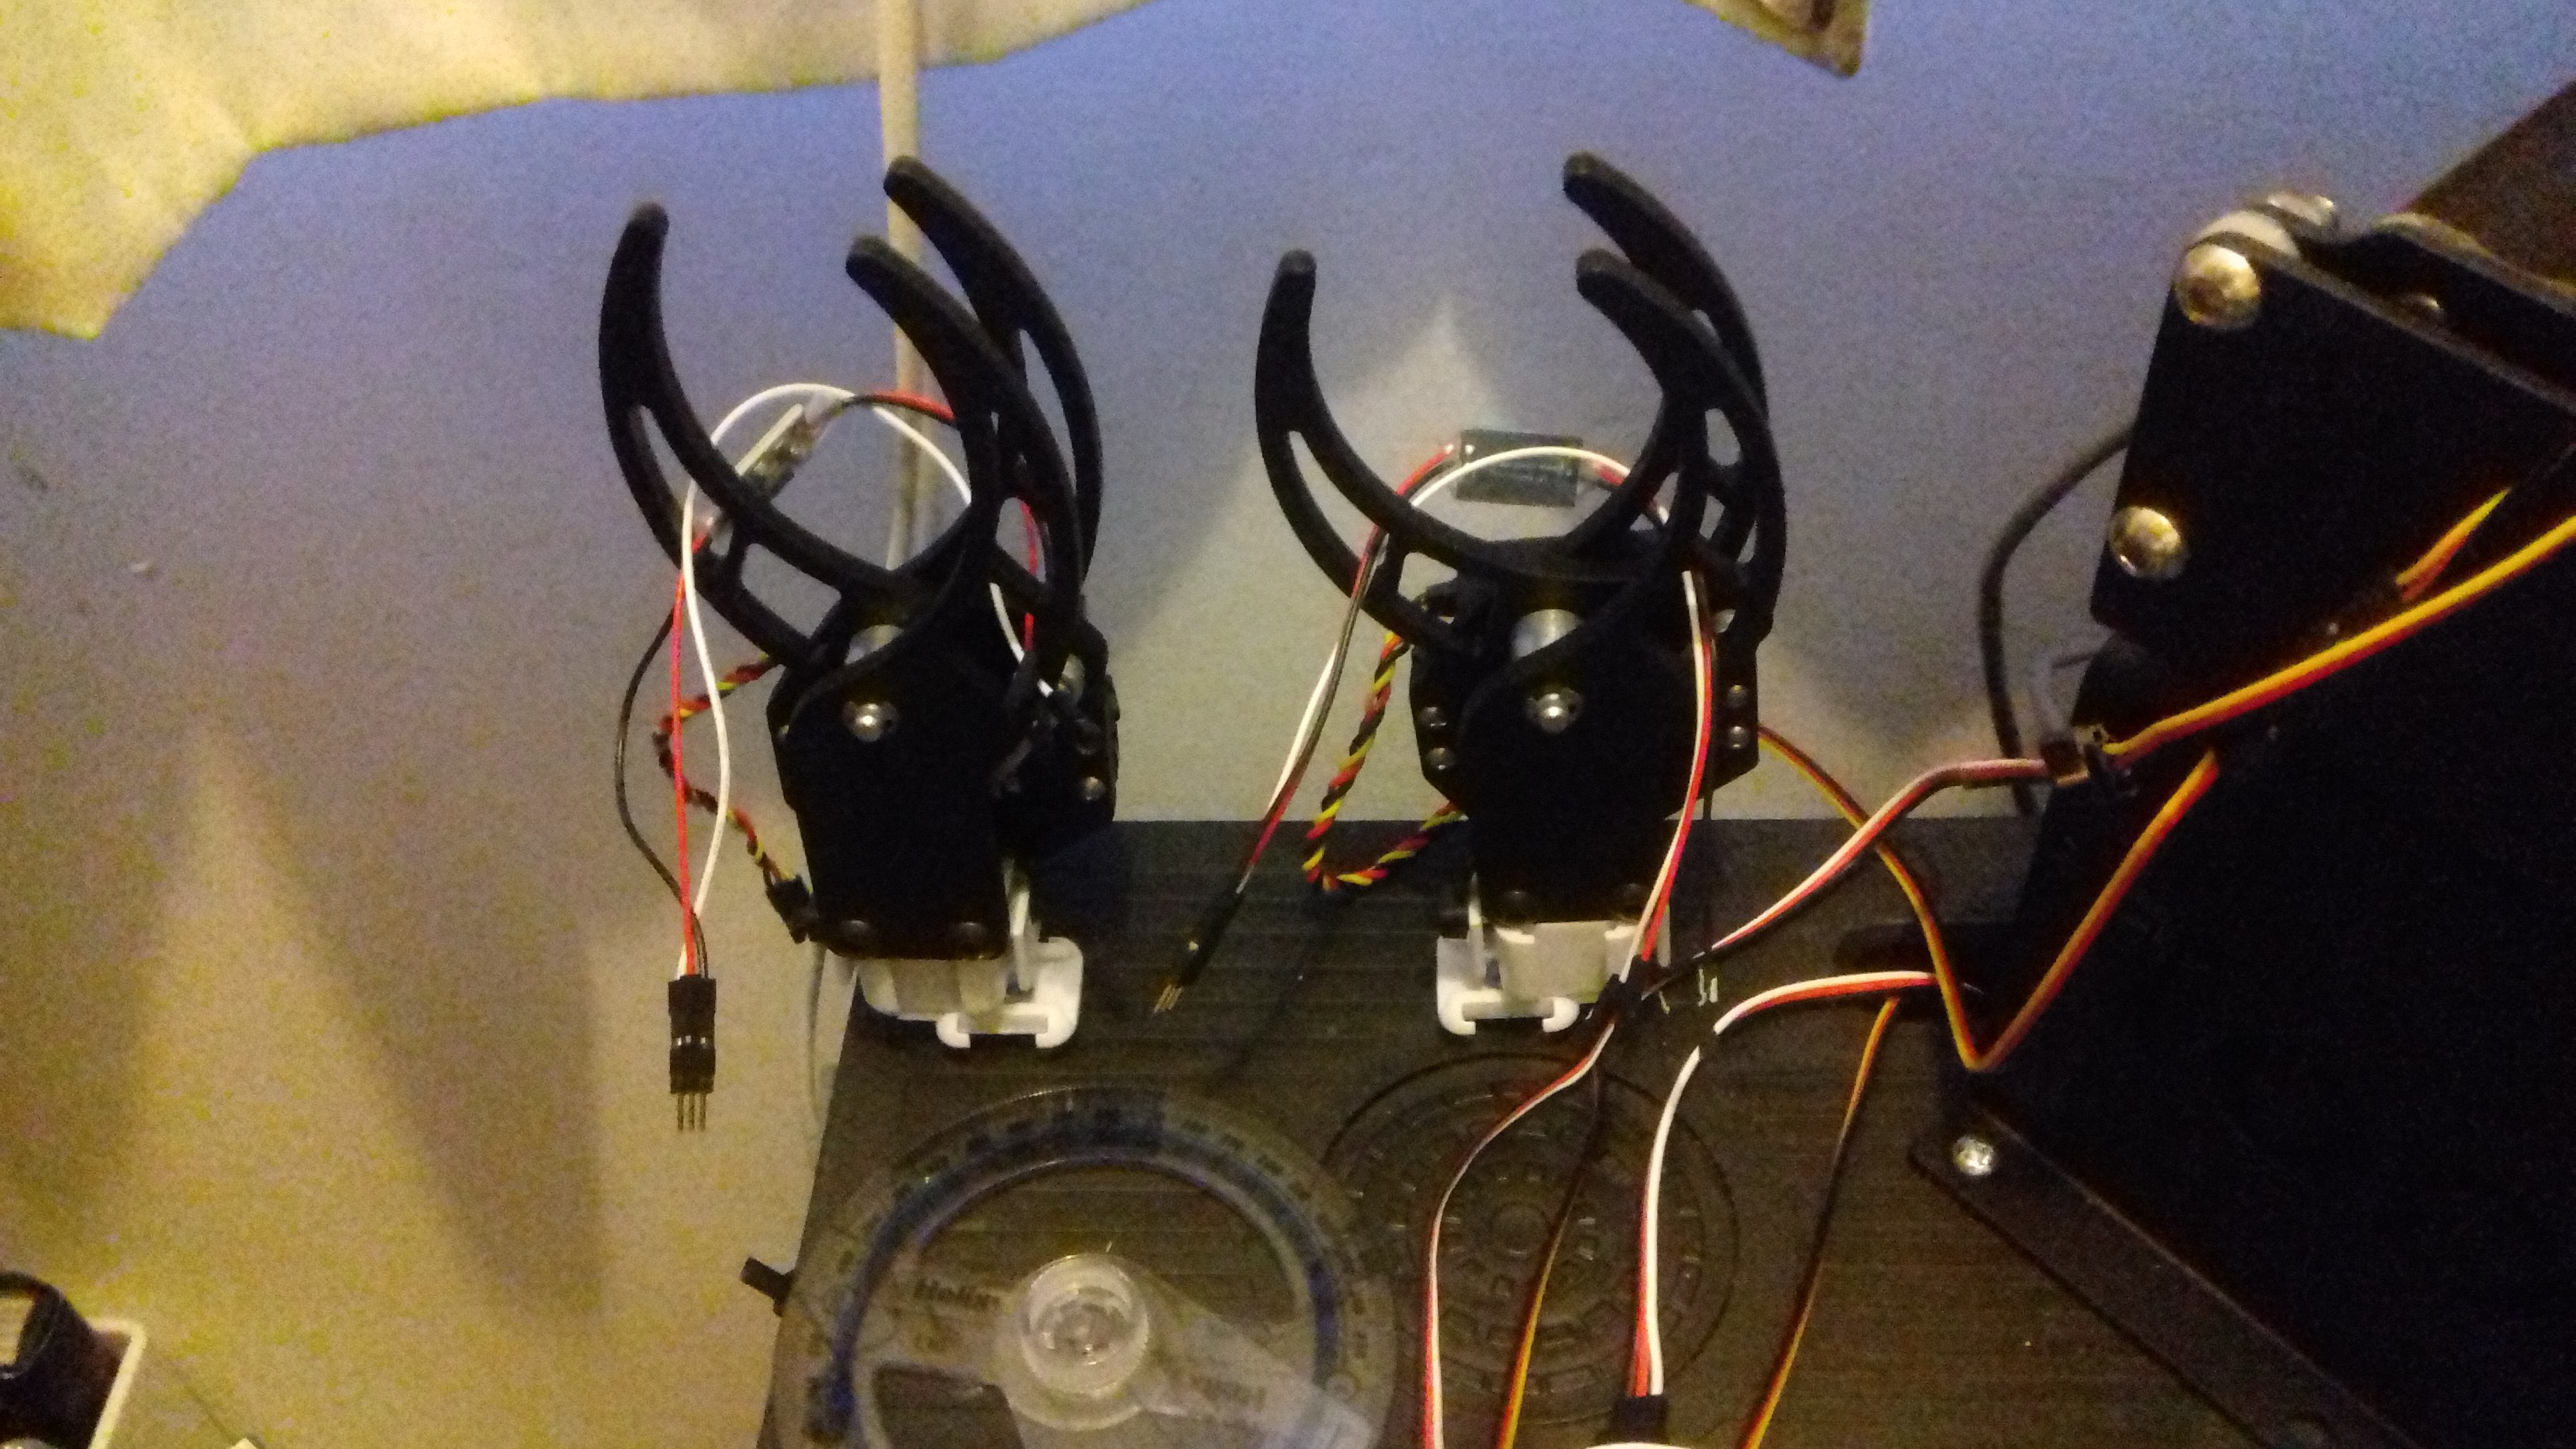
The robot workbench only has a servo control program written at the moment. This control program makes use of the Manipulate function. I have some great plans for this workbench in the future. Under the control of Mathematica it will perform tasks using all the power of the neural networks and machine learning. Image and text processing. To name but a few.
My big goal is to create a Robot Operating System that will contain all the code required for the robots to carry out complex tasks. This would include features such as inverse and forward kinematics. I want to achieve this using only Mathematica.
My reason for putting my robots on the forum is simply to see if anyone is doing anything similar. With only a few lines of Mathematica code I have been able to get the robots to read text and interpret it. I am sure that my Robot Operating System will be thousands of lines of code. I plan to write it in two parts. A front end to carry out general robot tasks, such as movement and manipulation, data processing from sensors and the solving of problems using neural nets and machine learning. A back end that can be made to match up to a specific controller or micro controller. That is my plan. Any code I produce will be made available to this forum.
Well I had better get back to coding.
CODE
The code for the G15 KS simply performs a task and returns a result to the control software of the robot. There is no direct control. The humanoid robot and the workbench code have direct control.
The following is the code that allows the modified G15 KS to read text and repeat what it has seen.
str = TextRecognize[Import["C:\\mathscripts\\images\\img3.jpg"],  Language -> "English"];

str = StringReplace[str, Whitespace -> " "];

str

s = OpenWrite[File["C:\\mathscripts\\jeeves\\output.txt"]]

WriteLine[s, str];

Close[s];
Here the image taken by the robots camera is picked up by mathematica and the TextRecognize function gets the text from the image and stores it in a file ready to be used by the robots control system. Pretty simple coding to get a robot to read text.
The following code allows the G15 KS to read text, evaluate it.
str = TextRecognize[Import["C:\\mathscripts\\images\\img3.jpg"], Language -> "English"];

str = StringReplace[str, Whitespace -> " "];

str

s = OpenWrite[File["C:\\mathscripts\\jeeves\\output2.txt"]]

res = Interpreter["SemanticExpression"][str];

If[NumericQ[res], res = N[res], res]

WriteLine[s, ToString[res]];

Close[s];
The following code allows the G15 KS to identify an object within an image. Actually thousands of objects'
txt = ImageIdentify[Import["C:\\mathscripts\\images\\img3.jpg"]]

s = OpenWrite[File["C:\\mathscripts\\jeeves\\output3.txt"]]

WriteLine[s, ToString[CommonName[txt]]];

Close[s];
The following code allows the G15 KS to read text relating to geographic location. This was used by the robot to read the text generated by a mobile phone app and speak the result.
str = TextRecognize[Import["C:\\mathscripts\\images\\img3.jpg"], Language -> "English"];
str = StringReplace[str, Whitespace -> " "];
str = StringSplit[str];
If[NumberQ[ToExpression[str[[1]]]] && NumberQ[ToExpression[str[[2]]]],
  $GeoLocation =
   GeoPosition[{ToExpression[str[[1]]], ToExpression[str[[2]]]}];
  country = CountryData[$GeoLocationCountry, "Name"];
  citytown = CityData[$GeoLocationCity, "Name"];
  s = OpenWrite[File["C:\\mathscripts\\jeeves\\output4.txt"]];
  WriteLine[s, country <>  " is the country I am in and the nearest town or city is called " \<>  citytown];
  Close[s];,
  s = OpenWrite[File["C:\\mathscripts\\jeeves\\output4.txt"]];
  WriteLine[s, "Invalid input Please try again " ];
  Close[s];];
The following code allows the robot to play a tune. The text the robot must read is as follows: AABBCCD
str = TextRecognize[Import["C:\\mathscripts\\images\\img3.jpg"], Language -> "English"];

str = StringReplace[str, Whitespace -> ""];

str

s = OpenWrite[File["C:\\mathscripts\\jeeves\\output5.txt"]]

WriteLine[s, str];

Close[s];
It can be seen from the code that most of the work is passing data in files. The code to carry text and image analysis is simply one line of code. It can not get better than that.
The code that follows is the code the is used to control all of the humanoid and workbench servo. Firstly the workbench.
Button["Open connection to Maestro", dev = DeviceOpen["Serial", "COM5"]]

Manipulate[
 DeviceWriteBuffer[
  dev, {132, 1, BitAnd[a*4, 127],
   BitAnd[BitShiftRight[(a*4), 7] , 127]}], {{a, 1224, "Right Base"},
  496, 2016, 1}]

Manipulate[
 DeviceWriteBuffer[
  dev, {132, 0, BitAnd[a*4, 127],
   BitAnd[BitShiftRight[(a*4), 7] , 127]}], {{a, 1224, "Left Base"},
  496, 2016, 1}]

Manipulate[
 DeviceWriteBuffer[
  dev, {132, 3, BitAnd[a*4, 127],
   BitAnd[BitShiftRight[(a*4), 7] , 127]}], {{a, 1216, "Right Pivot"},
   1008, 2000, 1}]

Manipulate[
 DeviceWriteBuffer[
  dev, {132, 2, BitAnd[a*4, 127],
   BitAnd[BitShiftRight[(a*4), 7] , 127]}], {{a, 1216, "Left Pivot"},
  1008, 2000, 1}]

Manipulate[
 DeviceWriteBuffer[
  dev, {132, 4, BitAnd[a*4, 127],
   BitAnd[BitShiftRight[(a*4), 7] , 127]}], {{a, 1216, "Right Elbow"},
   1024, 2144, 1}]

Manipulate[
 DeviceWriteBuffer[
  dev, {132, 5, BitAnd[a*4, 127],
   BitAnd[BitShiftRight[(a*4), 7] , 127]}], {{a, 1270, "Left Elbow"},
  1024, 2144, 1}]

Manipulate[
 DeviceWriteBuffer[
  dev, {132, 14, BitAnd[a*4, 127],
   BitAnd[BitShiftRight[(a*4), 7] , 127]}], {{a, 1240, "Right Wrist"},
   496, 2000, 1}]

Manipulate[
 DeviceWriteBuffer[
  dev, {132, 15, BitAnd[a*4, 127],
   BitAnd[BitShiftRight[(a*4), 7] , 127]}], {{a, 1182, "Left Wrist"},
  496, 2000, 1}]

Manipulate[
 DeviceWriteBuffer[
  dev, {132, 7, BitAnd[a*4, 127],
   BitAnd[BitShiftRight[(a*4), 7] , 127]}], {{a, 1200,
   "Right Gripper"}, 1024, 1296, 1}]

Manipulate[
 DeviceWriteBuffer[
  dev, {132, 6, BitAnd[a*4, 127],
   BitAnd[BitShiftRight[(a*4), 7] , 127]}], {{a, 1200,
   "Left Gripper"}, 1024, 1296, 1}]

Manipulate[
 DeviceWriteBuffer[
  dev, {132, 8, BitAnd[a*4, 127],
   BitAnd[BitShiftRight[(a*4), 7] , 127]}], {{a, 1480, "Turn Table"},
  992, 2000, 1}]

Manipulate[
 DeviceWriteBuffer[
  dev, {132, 10, BitAnd[a*4, 127],
   BitAnd[BitShiftRight[(a*4), 7] , 127]}], {{a, 1240,
   "Move Vertical"}, 496, 2000, 1}]

Manipulate[
 DeviceWriteBuffer[
  dev, {132, 11, BitAnd[a*4, 127],
   BitAnd[BitShiftRight[(a*4), 7] , 127]}], {{a, 1200,
   "Move Horizontal"}, 800, 1600, 1}]

CloseDevice[dev];
Now the code to move the humanoid servos using Manipulate.
dev = DeviceOpen["Serial", "COM5"]
Manipulate[
 DeviceWriteBuffer[
  dev, {132, 0, BitAnd[a*4, 127],
   BitAnd[BitShiftRight[(a*4), 7] , 127]}];
 DeviceWriteBuffer[
  dev, {132, 1, BitAnd[b*4, 127],
   BitAnd[BitShiftRight[(b*4), 7] , 127]}];
 DeviceWriteBuffer[
  dev, {132, 2, BitAnd[c*4, 127],
   BitAnd[BitShiftRight[(c*4), 7] , 127]}];
 DeviceWriteBuffer[
  dev, {132, 3, BitAnd[d*4, 127],
   BitAnd[BitShiftRight[(d*4), 7] , 127]}];
 DeviceWriteBuffer[
  dev, {132, 5, BitAnd[e*4, 127],
   BitAnd[BitShiftRight[(e*4), 7] , 127]}];
 DeviceWriteBuffer[
  dev, {132, 4, BitAnd[f*4, 127],
   BitAnd[BitShiftRight[(f*4), 7] , 127]}];
 DeviceWriteBuffer[
  dev, {132, 6, BitAnd[g*4, 127],
   BitAnd[BitShiftRight[(g*4), 7] , 127]}];
 DeviceWriteBuffer[
  dev, {132, 7, BitAnd[h*4, 127],
   BitAnd[BitShiftRight[(h*4), 7] , 127]}];
 DeviceWriteBuffer[
  dev, {132, 15, BitAnd[l*4, 127],
   BitAnd[BitShiftRight[(l*4), 7] , 127]}];
 DeviceWriteBuffer[
  dev, {132, 14, BitAnd[k*4, 127],
   BitAnd[BitShiftRight[(k*4), 7] , 127]}], {{a, 1224, "Left Base"},
  496, 2016, 1}, {{b, 1224, "Right Base"}, 496, 2016,
  1}, {{c, 1216, "Left Pivot"}, 1008, 2000,
  1}, {{d, 1216, "Right Pivot"}, 1008, 2000,
  1}, {{e, 1270, "Left Elbow"}, 1024, 2144,
  1}, {{f, 1270, "Right Elbow"}, 1024, 2144,
  1}, {{k, 1024, "Right Wrist"}, 496, 2000,
  1}, {{l, 1024, "Left Wrist"}, 496, 2000,
  1}, {{g, 1200, "Left Gripper"}, 1024, 1296,
  1}, {{h, 1200, "Right Gripper"}, 1024, 1296, 1}]
That's all for now at a later date there will be a lot more to come. It can be seen from above that very little code is required to get a great deal of functionality.